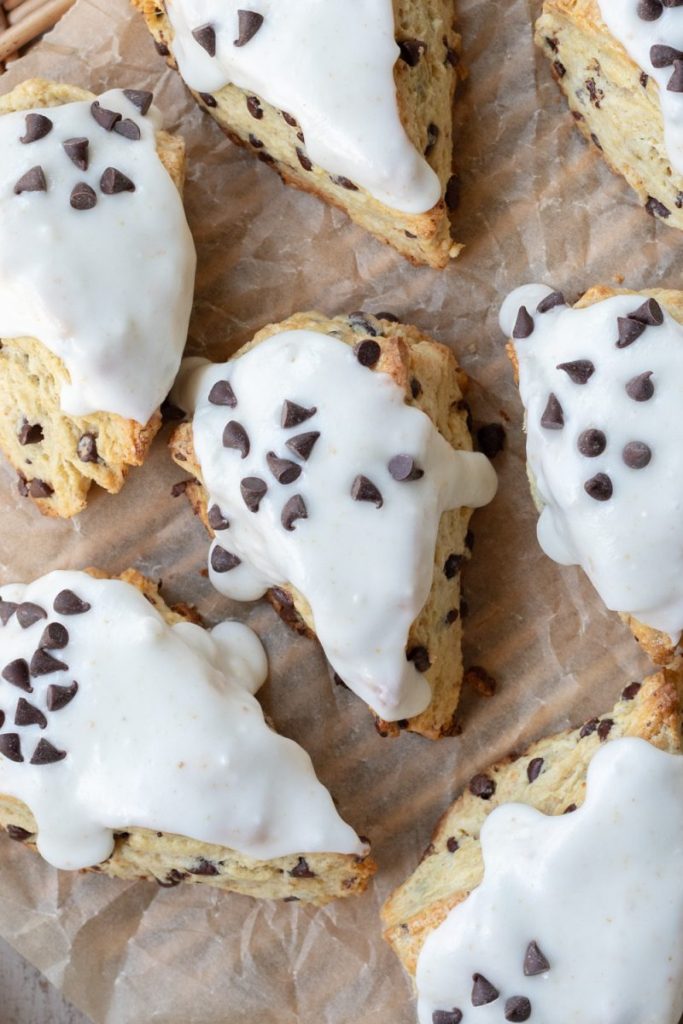
Flaky yet tender scones, filled with toasty brown butter flavor, mini chocolate chips & topped off with a brown butter glaze.
This post may contain affiliate links, please read the privacy policy for details.

brown butter chocolate chip scones
We’re making some delicious chocolate chip scones today, but with brown butter because brown butter makes everything better. These scones are moist, fluffy, flaky, loaded with brown butter and mini chocolate chips, and topped with a brown butter glaze. They’re simple yet super flavorful, making them the perfect little treat to pair with a nice cup of coffee or tea.
why you’ll love these brown butter chocolate chip scones:
- They’re moist and flaky. A lot of scones are sad and dry – and while scones need to be a little dry for their signature shape and rise, these are *way* more moist than you’d expect.
- They’re filled with brown butter flavor. There’s brown butter all throughout the dough and in the glaze on top, giving the perfect toasty note in every bite.
- They’re super easy to make. Scones are actually super easy to make, can easily be made ahead of time and baked off at a later date, and are *perfect* for sharing.
expert baking tips
Weigh your ingredients:
My recipes are all written in grams because it is the most accurate way to bake. When you use a kitchen scale, you ensure that your baked goods turn out as close to the written recipe as possible. Plus, the cleanup is way easier when using a scale! I will provide standard cup measurements but please note that I have not tested the recipe using cup measurements and therefore can not guarantee your recipe will come out how mine did. Here is my favorite kitchen scale.
Keep the dough and ingredients cold
The trick to getting those tall flaky layers and butter pockets is to keep the dough cold. If you notice the butter getting too warm at any point while making the scones, just pop the dough into the freezer for 5-10 minutes to harden it up again.
Freeze the dough before baking
This step is super important because it ensures that the scones will not spread much in the oven, and will bake up nice and tall! Freeze the dough for at least 30 minutes before baking them off.
Make the brown butter ahead of time
I recommend browning your butter the day before you want to bake the scones to make your process easier. (You could even make it up to one week in advance.) If you want to make it all in one day that’s completely doable as well, just set the brown butter in the freezer and stir it every 5 minutes until it’s completely solidified and then proceed with the recipe.
Mix the dough carefully:
Be careful to knead the dough just until it comes together. Over-kneading the dough can lead to a drier, tougher scone.
A note on oven temperature:
Ovens vary and fluctuate in temperature and might not always actually be at the temperature they claim to be at. If you love to bake like I do, I highly recommend getting an oven thermometer. They are super helpful for letting you know when your oven might be lying to you! I use this one.
ingredients for brown butter chocolate chip scones:
brown butter chocolate chip scones:
- All purpose flour: for structure and chewiness.
- Baking powder: for helping the scones rise.
- Salt: to help balance and bring out the sweetness of the scones.
- Unsalted butter: for tenderness and making those delicious flaky layers. We’ll also brown it for some great, toasty brown butter flavor. You can substitute in salted butter, just be sure to remove the excess salt from the dough!
- Light brown sugar: for lightly sweetening and for moisture. You can easily substitute in granulated or dark brown sugar.
- Egg: for binding and for moisture.
- Vanilla: for flavor.
- Sour cream: makes these scones nice and tender and keeps them from being dry. I recommend full-fat for the best texture.
- Mini chocolate chips: I prefer using mini chocolate chips in because they distribute more evenly throughout the dough and are easier to cut. However, feel free to sub in your favorite chocolate chips, chunks, or chopped baking bar!
Brown butter glaze:
- Powdered sugar: the base of the glaze.
- Salt: balances and brings out the flavor and sweetness of the glaze.
- Brown butter: reserved from the scone dough.
- Milk: thins out the glaze to a pourable consistency. Use your favorite milk here!
how to make brown butter chocolate chip scones
Here are a few images showing the process of making these scones. You can find the full recipe at the end of this blog post!
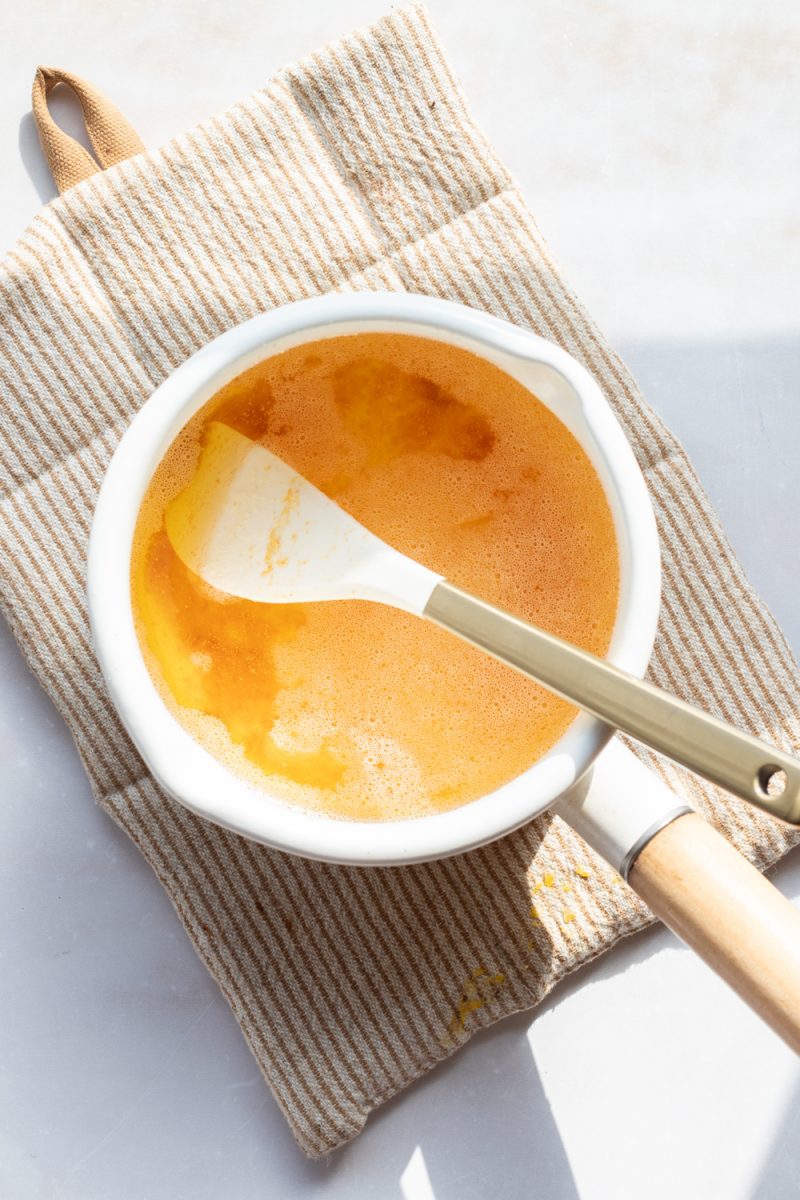
- Cook the butter on the stove until it develops little brown specks, then let it solidify.
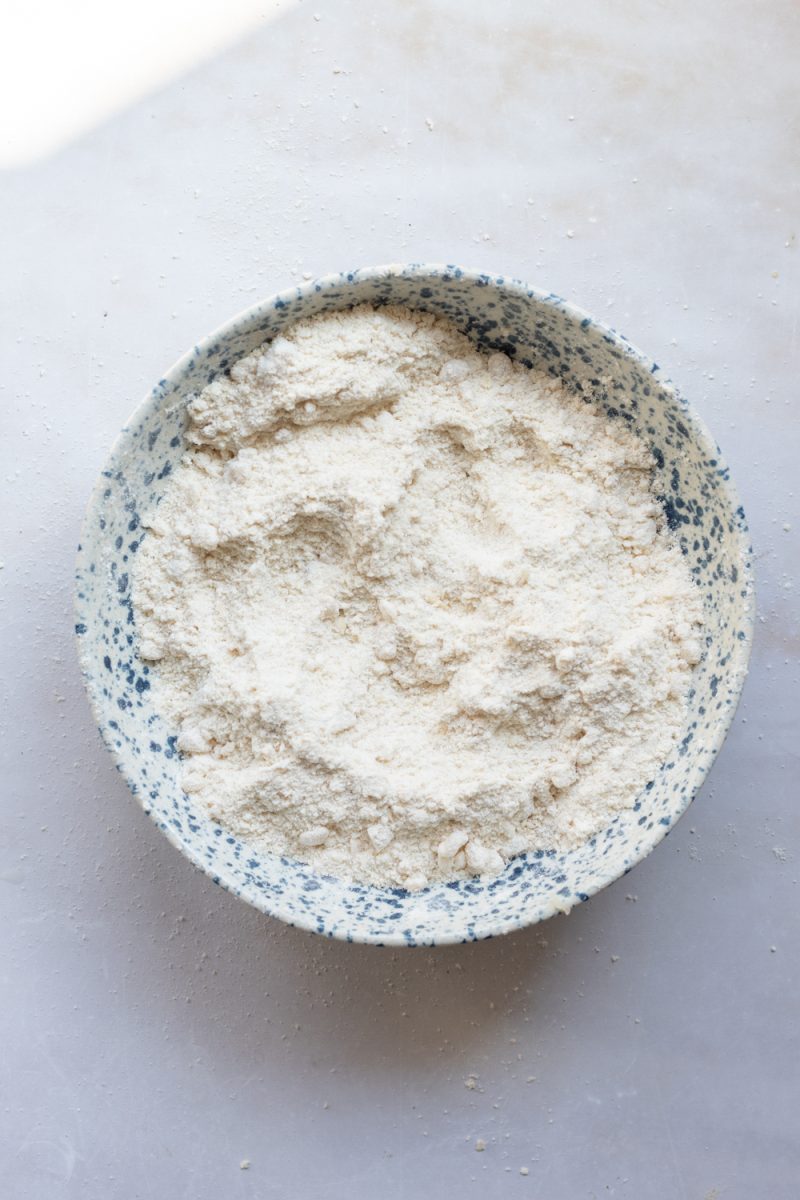
- Cut the solidified brown butter into the dry ingredients until only little clumps of butter remain.


- Mix the egg, sour cream & vanilla into the dry ingredients.
- Shape the dough into a 6″ circle, then freeze it.
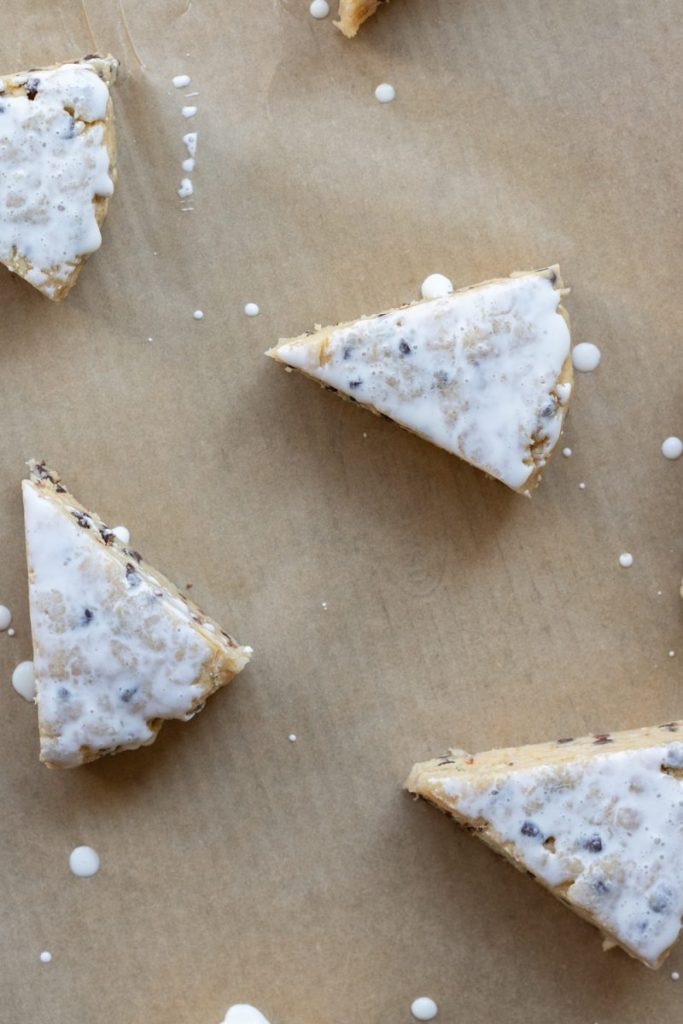
- Slice the scones, brush them with heavy cream, and bake.
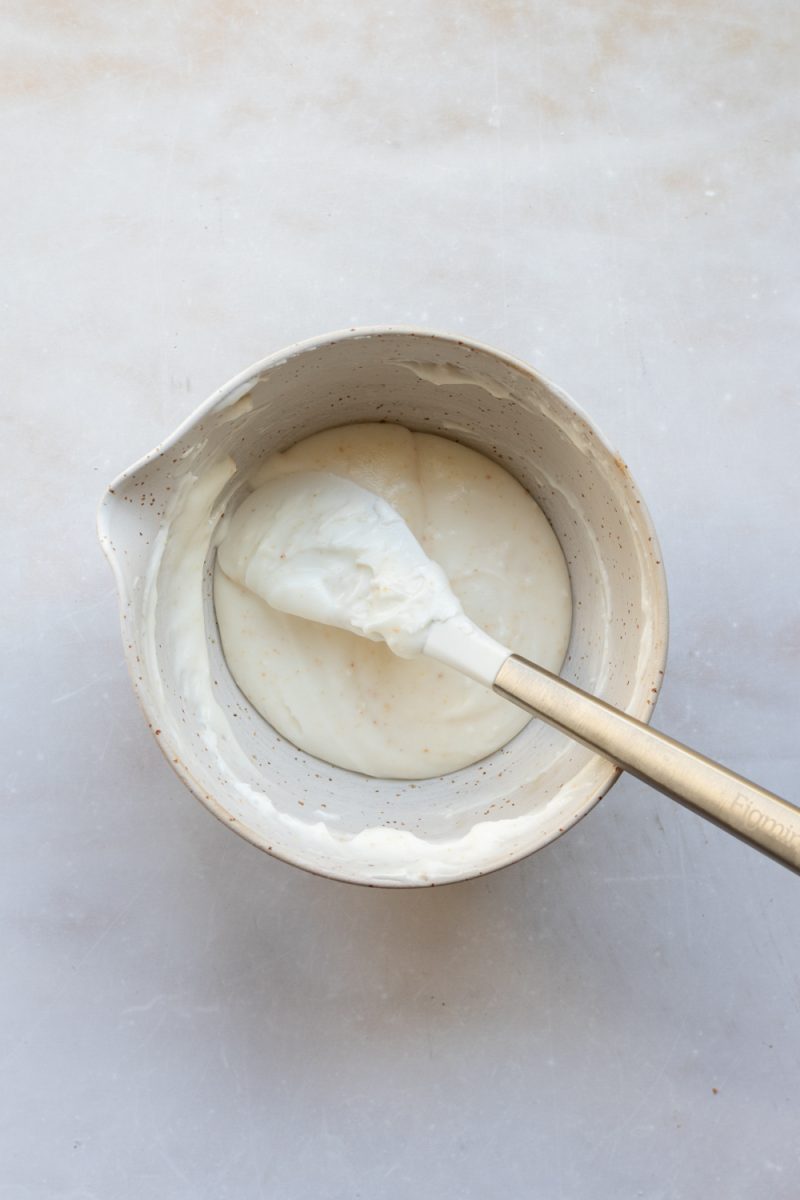
- Mix together the brown butter icing ingredients, then frost the room temperature scones. Serve and enjoy!
brown butter chocolate chip scones q&a
Can I make these brown butter chocolate chip scones ahead of time?
Yes, you can! There are two ways you could go about this.
- Prepping the night before: After making the scone dough and shaping it, wrap it tightly in plastic wrap and leave in the freezer overnight. In the morning you can bake these scones off as stated in the recipe!
- Prepping further in advance: After making the scone dough and shaping it, wrap it tightly in plastic wrap. Freeze the dough for up to 1 month before baking. You can bake the scones right from frozen, they will just need a couple more minutes in the oven!
Can I double this recipe?
Of course! Simply double all of the ingredients in the recipe and divide the dough into even circles. I (even more) strongly recommend measuring by weight if you are going to double the recipe for the best results.
How to store these scones
Like most baked goods, these scones will definitely taste the best on the day that they are baked. They will last for up to 3 days stored in an airtight container at room temperature.
My scones turned out super dry
The #1 reason for baked goods coming out super dry is not measuring the flour properly. I seriously can’t recommend using a scale enough for the best baking experience and outcome! They may also turn out dry if you over-kneaded the dough (only knead until it comes together), or if you browned the butter for too long and too much moisture evaporated.
My scones spread a lot in the oven
There are three reasons this may have occurred –
- The dough was not chilled for long enough. Freeze the dough for at least 30 minutes before baking. This allows all the ingredients to get cold again, which leads to less spreading in the oven.
- Your oven temperature is wrong. I recommend getting an oven thermometer, you might be surprised to find out that your oven runs too hot or cold!
- Your baking powder might be expired. You can test if your baking powder is active by dropping some in a small amount of water. If it bubbles, it’s active, if not, it’s expired.
tools and ingredients:
You can find all my favorite tools and ingredients that I use on my Amazon Storefront page, here!
other recipes you might enjoy:
did you make this recipe?
I’d love to see and know your thoughts! please leave a comment and review below, and tag me on instagram @freshbeanbakery. #freshbeanbakery
Brown Butter Chocolate Chip Scones
Ingredients
Brown Butter Chocolate Chip Scones
- 170 g unsalted butter (¾ c.)
- 1 egg
- 95 g sour cream (⅓ c. + 1 tbsp.)
- 1 tsp. vanilla
- 240 g all purpose flour (2 c.)
- 1 tbsp. baking powder
- ½ tsp. salt
- 40 g light brown sugar (3 tbsp.)
- 100 g mini chocolate chips (½ c. + 1 tbsp.)
Brown Butter Glaze
- 90 g powdered sugar (¾ c.)
- ⅛ tsp. salt
- 20 g brown butter
- 1 tbsp. milk
Instructions
Brown Butter Chocolate Chip Scones
- In a medium saucepan set over medium heat, melt the butter. Continue to stir occasionally until the mixture turns amber in color and you can see brown specks in the butter (those are the flavor bits!)
- Remove the brown butter from the heat and weigh it. You should be left with at least 135g. If you have a little less (2-3g), add in a little bit of water to reach 135g. If you have a lot more than 135g, return the butter to the heat to brown it for a little longer.
- Pour 115g (½ c.) of the brown butter into a heat-safe bowl and reserve the remaining brown butter for the glaze. If you're making the brown butter ahead of time, cover it and place it in the fridge overnight. If you're looking for a faster process, place the butter in the freezer and stir it every 5 minutes until it has solidified.
- In a small bowl, whisk together the egg, sour cream, and vanilla until well combined. Place the mixture in the fridge.
- To a medium-sized mixing bowl, add the flour, baking powder, salt, and sugar. Cut the solidified brown butter into little chunks and add it to the bowl.
- Using your fingers or a pastry blender, cut the butter into small pieces into the dry ingredients, until no large chunks of butter remain.
- Remove the egg mixture from the fridge and pour it into the bowl along with the mini chocolate chips.
- Start mixing the ingredients together in the bowl. When it seems like it no longer wants to come together, transfer the dough to a clean work surface. Gently knead until the dough fully comes together.
- Pat the dough down into a 6" circle. Lightly wrap or cover the scones and place them in the freezer for 30 minutes, up to overnight.
- When you're ready to bake the scones, preheat the oven to 425°F / 220°C. Line a baking sheet with parchment paper or a silicone baking mat.
- Cut the scones into 8 triangles and evenly spread them apart on the baking sheet. Lightly brush the tops of each scone with heavy cream or milk, then bake for 12-15 minutes, until the tops and bottoms of the scones start to turn golden brown.
Brown Butter Glaze
- Melt the reserved brown butter and mix it with the powdered sugar and salt. Add a small amount of milk at a time until you get the glaze consistency you want.
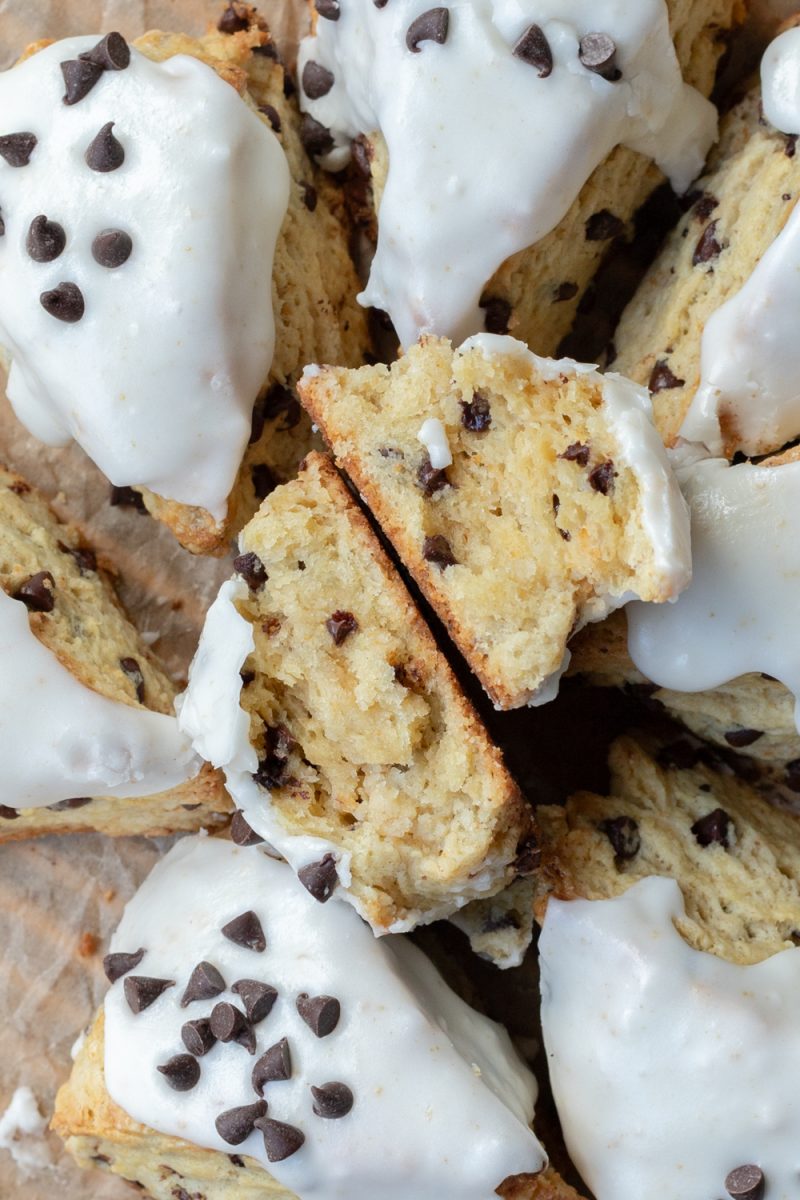
- Once the scones have cooled to room temperature, spread the glaze over them. Top with more mini chocolate chips if desired, then serve and enjoy!
Nutrition
Please note that the nutrition facts are only an estimate and may vary based on different brands of ingredients and any substitutions made.
Hi! These look so lovely 🙂 I have a quick question though. If I wanted to freeze the dough overnight to bake them off in the morning, is it okay to wait for the disc to thaw a little before I cut the disc into the triangles? Would that mess up the bake time?
Hi, thank you so much! You can definitely do that, you’ll probably only need 5-10 minutes before they’re able to be cut so it shouldn’t really affect the baking time! 🙂