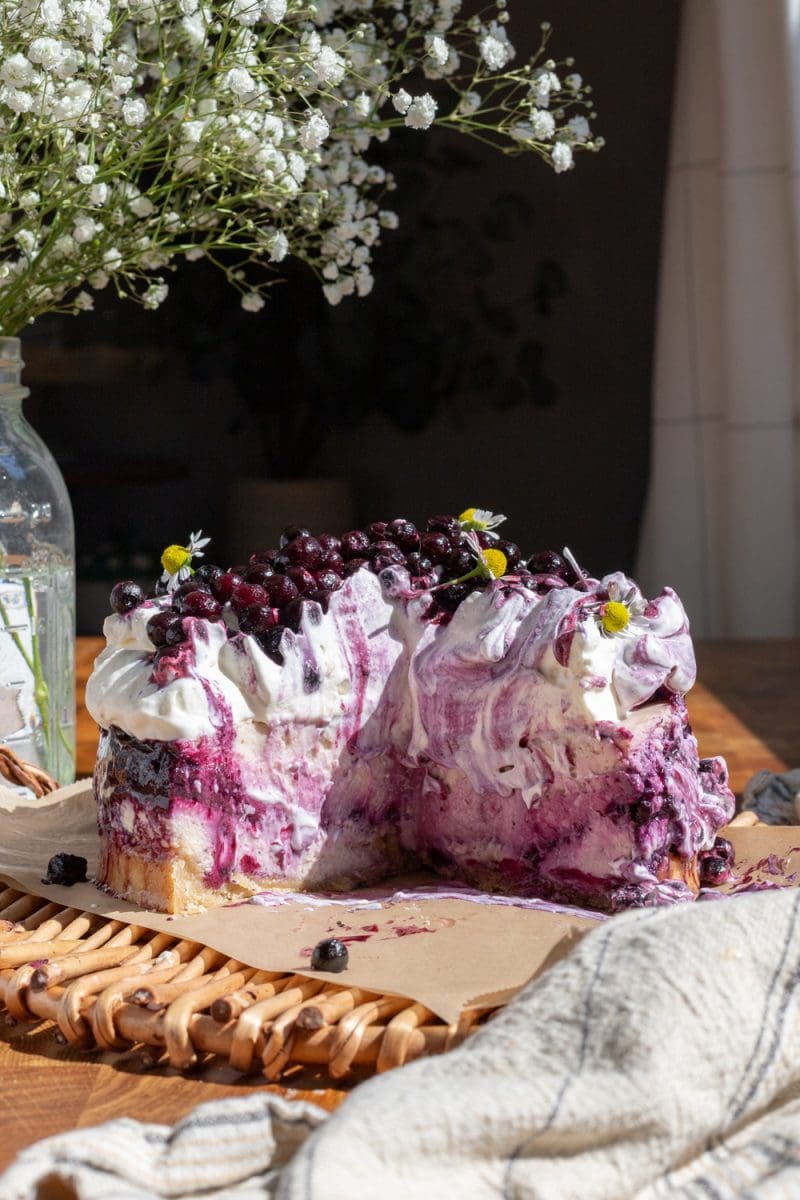
Brown sugar wild blueberry cheesecake, with a shortbread crust, and a thick layer of wild blueberry jam.
This post may contain affiliate links, please read the privacy policy for details.
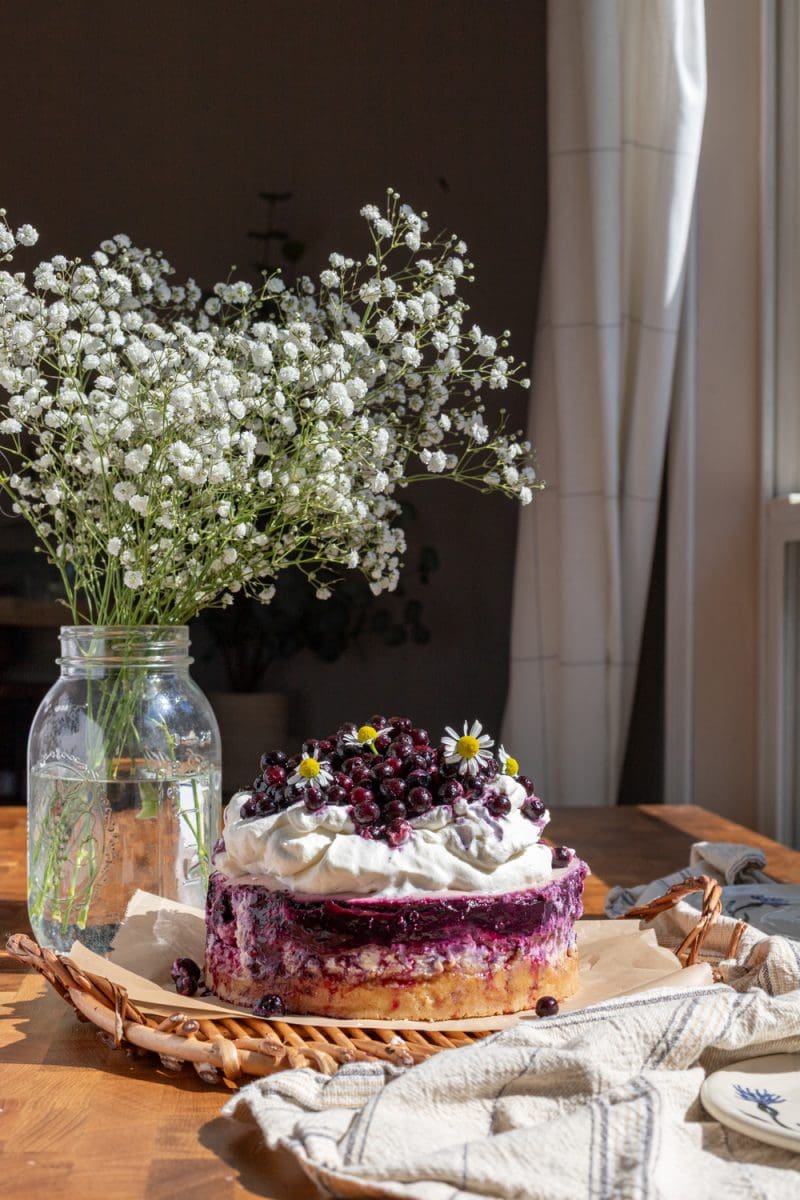
wild blueberry cheesecake
Hello hello! Today I’m here with the *perfect* cheesecake for blueberry lovers. The cheesecake itself is super rich and creamy, swirled with a homemade wild blueberry jam and stuffed with a thick layer of the jam as well. On top we’ll pile on a ton of whipped cream and even more blueberries for the perfect blueberry cheesecake. A lot of times you’ll find that blueberry bakes are also lemon bakes. And while there is some lemon in the jam and cheesecake, it’s just a little bit for some brightness and acidity – not a main strong flavor. The main flavor in this cheesecake is blueberry, and we’ll use brown sugar to add a hint of molasses flavor to the cheesecake and whipped cream as well.
My only warning note on this cheesecake is that it will take a *while* to bake (approximately 70 minutes) just because it’s super thick – so keep that in mind for timing purposes. Otherwise, below you’ll find all my best tips and tricks for making the perfect cheesecake. Happy baking! 🙂
expert baking tips
Weigh your ingredients:
My recipes are all written in grams because it is the most accurate way to bake. When you use a kitchen scale, you ensure that your baked goods turn out as close to the written recipe as possible. Plus, the cleanup is way easier when using a scale! I will provide standard cup measurements but please note that I have not tested the recipe using cup measurements and therefore can not guarantee your recipe will come out how mine did. Here is my favorite kitchen scale.
Use room temperature ingredients:
It’s important that your ingredients are at room temperature so that they can easily incorporate with each other. Take out your cream cheese, cream, and eggs about 1-2 hours before starting the cheesecake.
how to avoid cracks in a cheesecake
Here are my 4 best tips for avoiding cracks in your cheesecake –
- Mix the batter carefully – after adding in the eggs, you’ll want to make sure to only mix the batter until the eggs are fully incorporated. This will make sure we don’t add too much air into the batter, which will help keep the batter dense and avoid cracks forming on top.
- Tap the cheesecake on the counter – giving your cheesecake a few good taps on the counter prior to baking helps remove air bubbles that could cause cracks on top.
- Bake your cheesecake in a water bath – this helps to evenly bake the cheesecake from all sides. A 10″ cake pan will work great for this.
- Cool your cheesecake in the oven – once your cheesecake is done baking, turn off the oven and leave the door of the oven just *slightly* ajar. Let the cheesecake sit like that for one hour before transferring it to the fridge. This process allows your cheesecake to slowly come down to room temperature rather than quickly going from 350F to room temperature, which makes it less likely that the top will crack.
how to tell when a cheesecake is done baking
Cheesecake is done baking when it’s only slightly wobbly in the center. I like to temp my cheesecake as a more accurate way to tell when it’s done. A thermometer stuck into the middle of the cheesecake should read 155°F / 68°C.
A note on oven temperature:
Ovens vary and fluctuate in temperature and might not always actually be at the temperature they claim to be at. If you love to bake like I do, I highly recommend getting an oven thermometer. They are super helpful for letting you know when your oven might be lying to you! I use this one.

ingredients for wild blueberry cheesecake
shortbread crust:
- Unsalted butter: salted or your favorite non-dairy butter stick will work perfectly here as well.
- Light brown sugar: for flavor and sweetness.
- All purpose flour: for structure.
Vanilla cheesecake:
- Cream cheese: the base of the cheesecake and what makes it tangy, rich, and creamy. I recommend full fat cream cheese for the best texture.
- Eggs: binds the batter together.
- Granulated sugar: for sweetness and flavor.
- Cornstarch: for thickening up the cheesecake.
- Heavy whipping cream: for moisture and richness. You could also use sour cream here, but I think heavy cream provides the best texture.
- Lemon: you’ll want a fresh lemon for the juice and the zest.
- Vanilla bean paste: for flavor. I used vanilla bean paste because I love seeing the little speckles of vanilla, but vanilla extract will work perfectly in it’s place.
wild blueberry jam:
You can use store-bought wild blueberry jam – but I prefer making my own for the fresh taste.
- Lemon: you’ll need a fresh lemon for the zest and the juice
- Light brown sugar: for sweetening the jam.
- Wild blueberries: I use frozen because I’m not able to find fresh around me, but if you can find fresh you can use that! You could also use regular frozen blueberries here.
- Corn starch & water: for thickening the jam.
whipped cream:
- Heavy whipping cream: the base of the whipped cream.
- Light brown sugar: just a bit of sugar to sweeten up the cream a little, granulated sugar will work here as well.
- Vanilla bean paste: or vanilla extract, for flavor
- Salt: to balance the sweetness of the whipped cream.
how to make wild blueberry cheesecake
Here are a few images of the process of making this cheesecake. You can find the full recipe at the end of this blog post!


- Make the blueberry jam & bake off the shortbread cookie crust.
- Make the cheesecake: start by beating together the cream cheese, sugar, and corn starch, then beat in the eggs, followed by the heavy whipping cream, vanilla, and lemon juice.

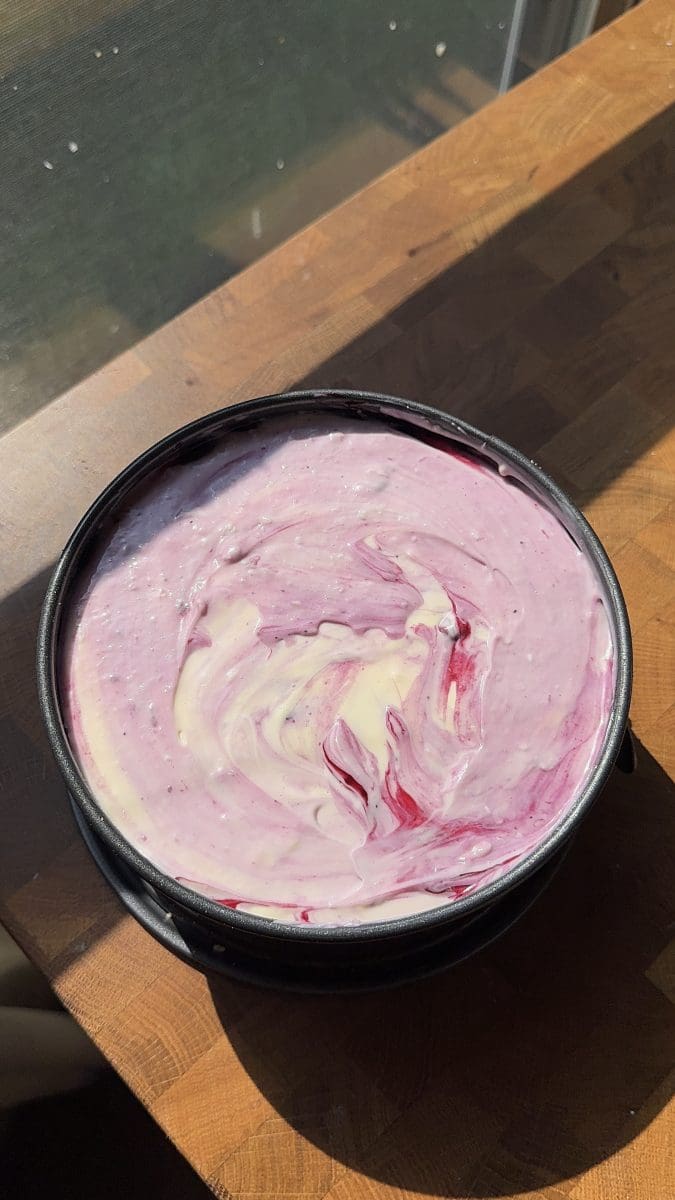
- Swirl the jam into the cheesecake.
- Bake, chill, top with whipped cream & blueberries, and enjoy!
wild blueberry cheesecake recipe q&a
what size cake pan do I need?
This cheesecake is *very* thick – I used a 7″ springform for the thickness. You can use an 8″ or 9″ springform, just note that your cheesecake will be thinner and will require less baking time.
how should I store this cake?
You can store cheesecake in the fridge for 2 days before serving. I’d recommend waiting to make the whipped cream until you’re ready to serve the cake.

tools and ingredients:
You can find all my favorite tools and ingredients that I use on my Amazon Storefront page, here!
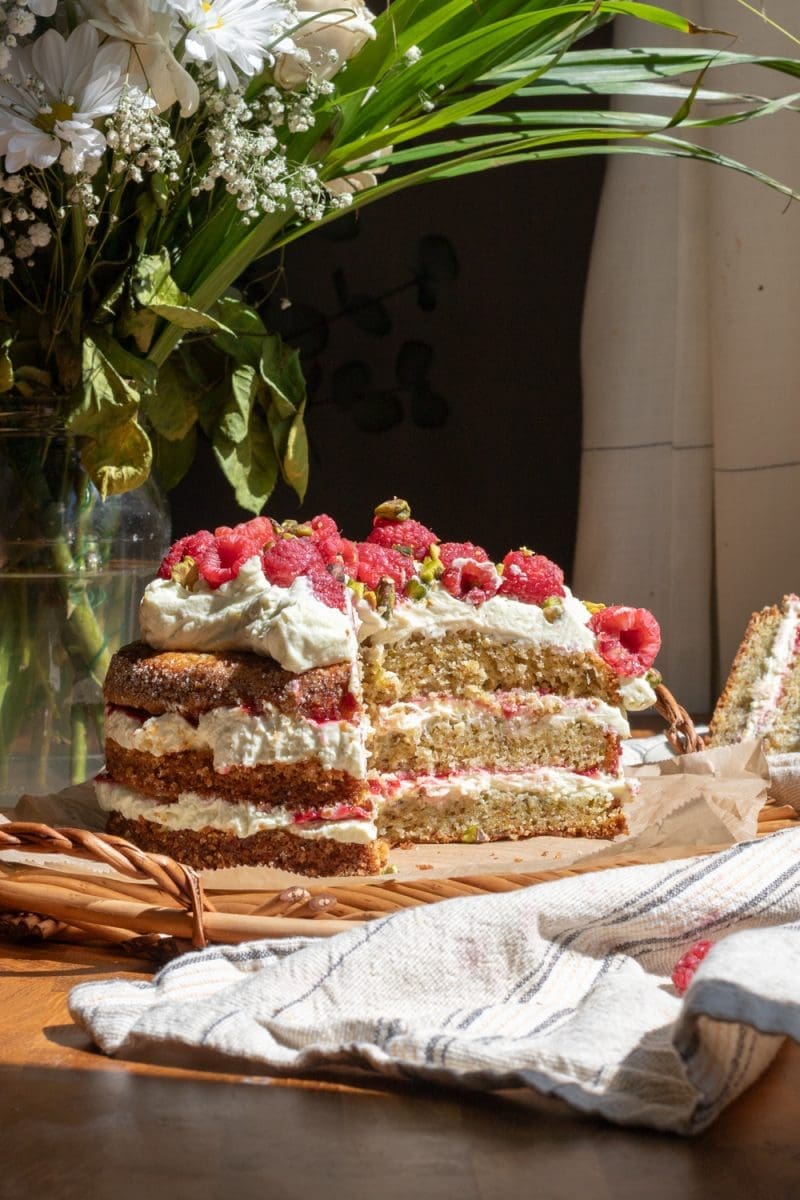
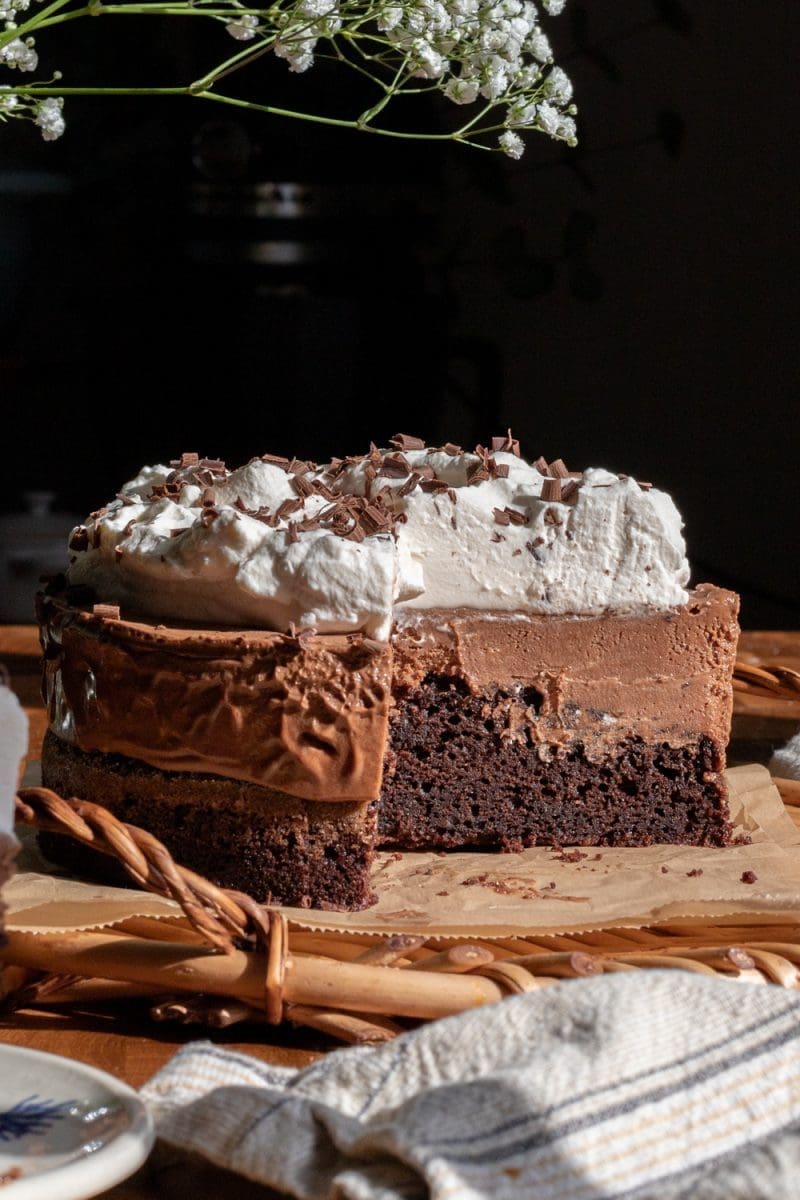
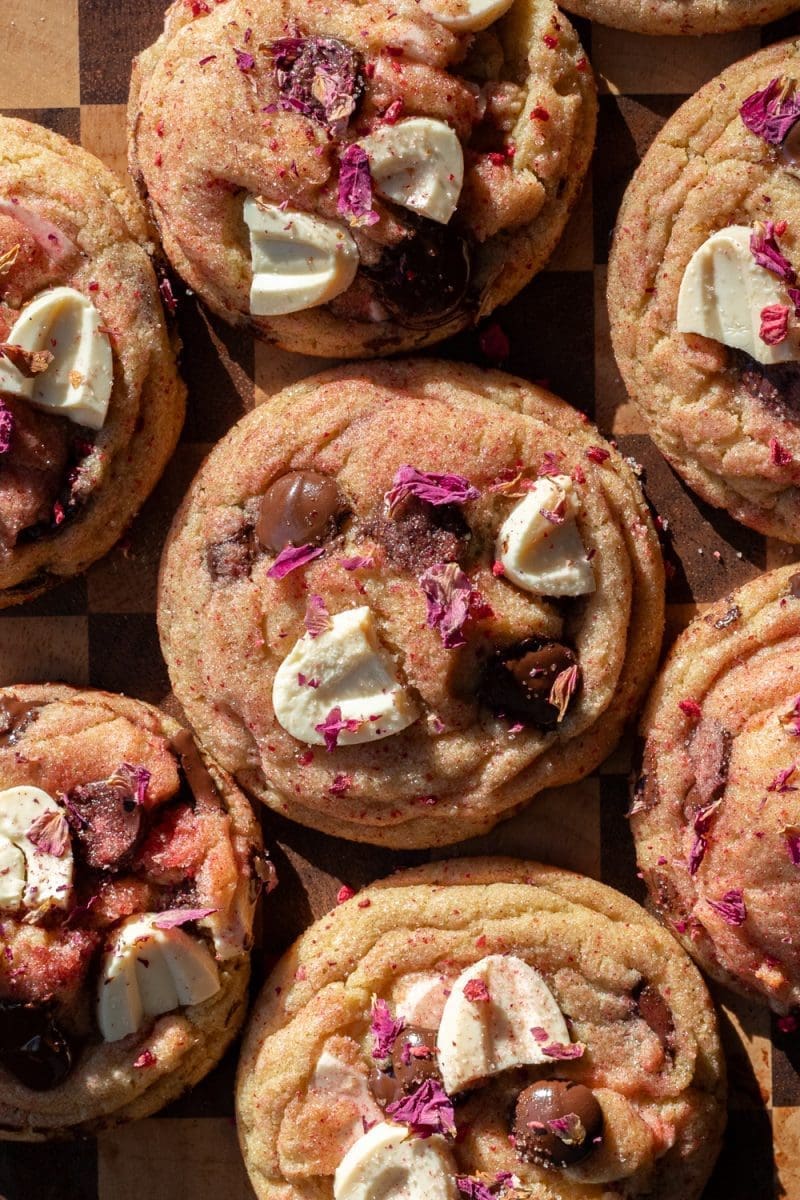
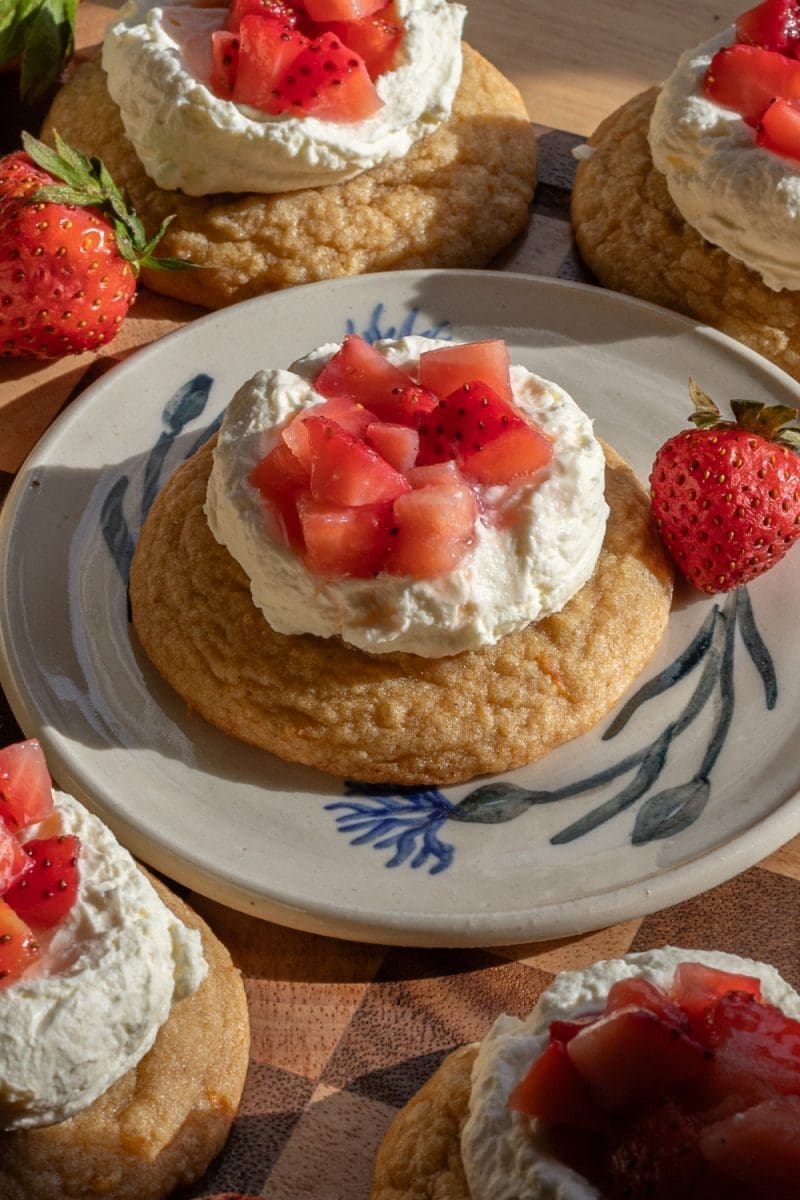
other recipes you might enjoy:
did you make this recipe?
I’d love to see and know your thoughts! please leave a comment and review below, and tag me on instagram @freshbeanbakery. #freshbeanbakery
Wild Blueberry Cheesecake
Ingredients
Wild Blueberry Jam
- 210 g wild blueberries frozen (1 ½ c.)
- 35 g light brown sugar (3 tbsp.)
- zest of 1 small lemon
- 2 tbsp. lemon juice divided
- 1 tbsp. corn starch
Shortbread Crust
- 42 g unsalted butter (3 tbsp.)
- 60 g light brown sugar (¼ c. + 1 tbsp.)
- 90 g all purpose flour (¾ c.)
Vanilla Cheesecake
- 150 g granulated sugar (¾ c.)
- 1 tbsp. cornstarch
- 452 g cream cheese room temperature (two 8-oz bricks)
- 2 eggs room temperature
- 110 g heavy whipping cream room temperature (½ c.)
- 25 g fresh lemon juice (2 tbsp.)
- 1 tbsp. vanilla bean paste
- 75 g wild blueberry jam (⅓ c.)
Whipped Cream
- 225 g heavy whipping cream (1 c.)
- 2 tbsp. light brown sugar
- ⅛ tsp. salt
- 1 tsp. vanilla
Instructions
Wild Blueberry Jam*
- Add the frozen wild blueberries and sugar to a medium sized saucepan. Zest the lemon into the pan, then add in 1 tbsp. of lemon juice.
- Set the saucepan over medium heat, stirring occasionally until the mixture starts to simmer.
- In a small bowl, mix together the corn starch and remaining 1 tbsp. of lemon juice. Let the jam simmer for 2 minutes, then, while constantly mixing, stir the corn starch slurry into the jam.
- Continue stirring until the jam thickens. Once the jam thickens, remove it from the heat and transfer it to a shallow bowl. Set the jam in the freezer while you make the shortbread crust and cheesecake.
Shortbread Crust
- Preheat the oven to 350°F / 175°C. Line the bottom and sides of a 7" springform pan with parchment paper.
- In a small mixing bowl, melt the butter. Add in the brown sugar and flour and mix until you have little clumps of dough.
- Press the dough into the bottom of the springform pan, slightly pressing it ~1" up the sides as well, and bake for 10 minutes. In the meantime, start making the cheesecake filling.
Cheesecake
- Add the cream cheese, sugar, and corn starch to a medium sized mixing bowl, or to the bowl of a stand mixer fitted with the paddle attachment.
- Beat the mixture until the cream cheese is completely smooth and free of lumps.
- Add the two eggs into the bowl, and beat the mixture on low speed *just* until the eggs have been fully incorporated.
- Add in the heavy cream, lemon juice, and vanilla bean paste. Again, beat the mixture on low speed just until cohesive.
- Portion out 75g (⅓ c.) of the blueberry jam. Add dollops of the jam on top of the batter, then fold the batter a few times to lightly swirl the jam into the cheesecake.
- Tap the bowl on the counter a few times to help remove extra air from the batter.
- Pour ½ of the batter on top of the shortbread crust. Then, dollop the remaining wild blueberry jam over the cheesecake in the pan, smoothing it out to form an even layer. Pour the remaining cheesecake batter over the jam.
- Fill a 10" cake pan, or any larger pan that can reasonably fit the 7" springform pan inside of it, a third of the way with hot water. Wrap tinfoil around the sides and bottom of your springform pan to help avoid the possibility of water seeping into it.
- Place the springform pan into the larger pan, then place the whole thing into the oven. Bake for 65-75 minutes, or until the cheesecake only slightly wobbles and reaches an internal temperature of at least 155°F / 68°C.* If the cheesecake starts to brown on top, gently place a piece of tinfoil over the top of the pan for the rest of the baking time.
- Once the cheesecake is fully cooked, turn off the oven and leave the door slightly ajar with the cheesecake in it for 1 hr. Once the hour has passed, cover the cheesecake and place it in the fridge to set overnight (at least 8 hours.)
Whipped Cream
- Save this step until you're ready to serve the cheesecake. Add the heavy whipping cream, brown sugar, vanilla and salt to a medium sized mixing bowl. Beat the mixture until soft peaks form.
- Top the chilled cheesecake with the whipped cream and extra blueberries. Slice, serve, and enjoy!
Notes
Nutrition
Please note that the nutrition facts are only an estimate and may vary based on different brands of ingredients and any substitutions made.