Easy, spooky and delicious Halloween spider cookies – aka chocolate peanut butter blossom cookies topped with two whoppers and chocolate.
This post may contain affiliate links, please read the privacy policy for details.

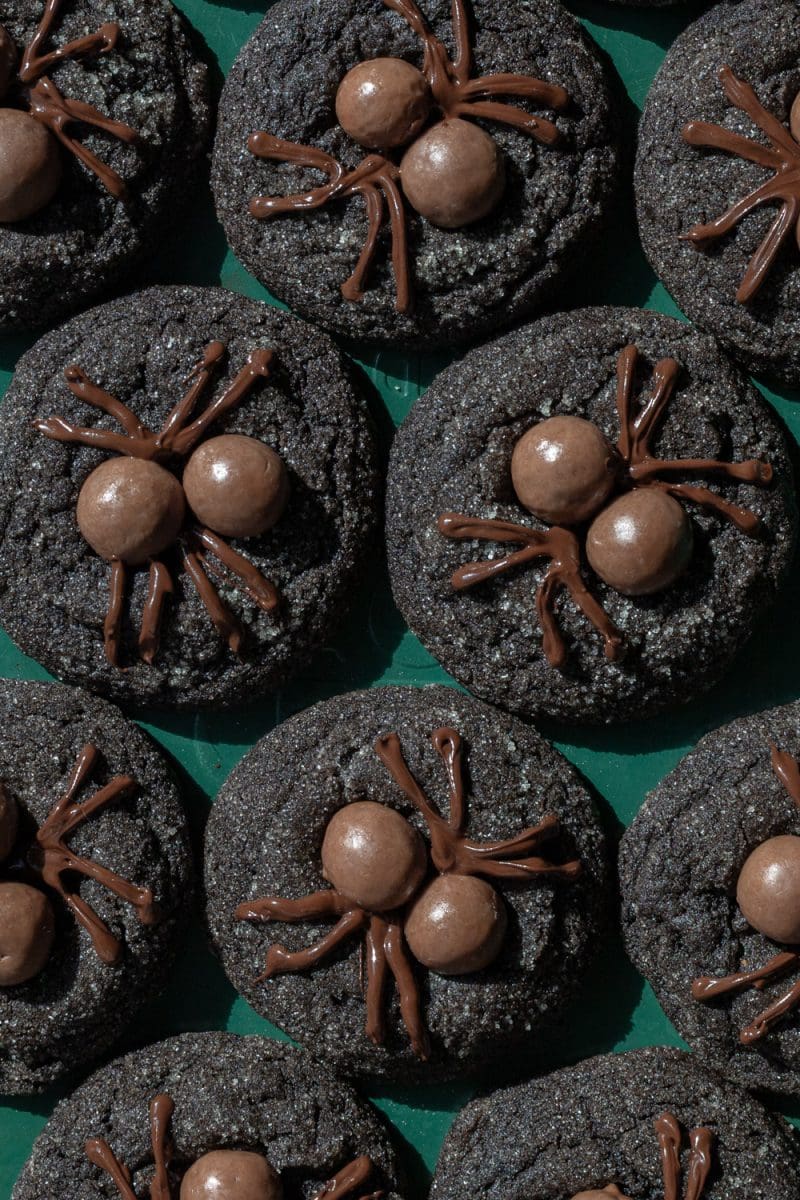
halloween spider cookies
You know those cute Christmas cookies that have a Hershey’s Kiss in the center of them? Today we’re taking those and making a Halloween version! They start with a dark chocolate peanut butter cookie base that’s *so* soft and chewy. They’re made with black cocoa powder to make them extra dark and spooky. Then, they’re topped with two whoppers and chocolate candy legs to make a spider. They’re delicious, easy to make, and the perfect cookie for a Halloween party!
why you’ll love these halloween spider cookies:
- They’re delicious: chocolate + peanut butter is just a classic and delicious combo.
- They’re super cute: at least I think so and I hope you do as well!
- Easy to make: no hand mixer or stand mixer required, and you’ll just need one bowl for the dough and one bowl for melting chocolate.
expert baking tips
Weigh your ingredients:
My recipes are all written in grams because it is the most accurate way to bake. When you use a kitchen scale, you ensure that your baked goods turn out as close to the written recipe as possible. Plus, the cleanup is way easier when using a scale! I will provide standard cup measurements but please note that I have not tested the recipe using cup measurements and therefore can not guarantee your recipe will come out how mine did. Here is my favorite kitchen scale.
mix the dough carefully
When you’re mixing in your flour, you’ll want to make sure you only mix just until that last streak of flour disappears in the dough. Otherwise, you run the risk of overmixing the dough which will make the cookies more tough and chewy.
under bake for perfect cookies
This is one of the best tips for making perfect cookies. Cookies will continue to bake on the hot cookie sheet after being taken out of the oven, so if you take them out when they look completely done, they will be over-baked. You can’t really tell if these cookies have golden brown edges, but, these are perfectly done around 8-10 minutes (9 for me). They will still be quite soft, which will let the whoppers be easily pushed into them after baking.
bloom your cocoa powder
The secret to getting more chocolate flavor into your chocolate bakes? Bloom your cocoa powder! Blooming your cocoa powder just means that you’re mixing the cocoa with a hot liquid. In these spider cookies, we’re going to achieve that by mixing the black cocoa powder directly with the hot melted butter. Doing so releases the cocoa powder particles from a very thin membrane on them, exposing cocoa solids and bringing out more flavor. It’s a super simple way to add more flavor into your chocolate bakes!
work fast, then chill –
Once these cookies come out of the oven, it’s go time! Immediately start pressing two whoppers in the middle of each cookie. If you wait any longer, the cookies will firm up and you won’t be able to press the candy in that well. Once each cookie is decorated, immediately put the cookies in the fridge to chill for 10-15 minutes, just until the cookies are room temperature. This ensures that your chocolate won’t melt into a puddle in the cookie (which isn’t necessarily a bad thing of course, but, it’s not the desired effect!)
A note on oven temperature:
Ovens vary and fluctuate in temperature and might not always actually be at the temperature they claim to be at. If you love to bake like I do, I highly recommend getting an oven thermometer. They are super helpful for letting you know when your oven might be lying to you! I use this one.
ingredients for halloween spider cookies:
chocolate peanut butter blossoms:
- All purpose flour: for structure and chewiness.
- Baking soda: for helping the cookies rise and giving them crisp edges.
- Salt: to help balance and bring out the sweetness of the cookies
- Black cocoa powder. Makes these the perfect color for Halloween! Here is the black cocoa powder I use.
- Unsalted butter: for tenderness and flavor. You can use salted butter in place of the unsalted, just be sure to omit the extra salt from the cookies. I highly recommend splurging a little and using European style butter here for the best flavor.
- Creamy peanut butter: for flavor, texture & sweetness. I’m a big fan of natural peanut butter, but unfortunately that won’t work in this recipe. For baking, you’re going to want to make sure you have thick creamy peanut butter like Jif or Skippy’s.
- Dark brown sugar: for sweetness, flavor and for moisture. I do highly recommend using dark brown sugar because it helps make the cookies super soft and chewy and gives more molasses flavor. However, in a pinch you can substitute in light brown sugar.
- Egg: for binding and richness.
- Vanilla: for flavor.
- Whoppers: you’ll need 24 whoppers to make the spider bodies for these 12 cookies.
coating & Topping:
- Granulated sugar: you can make these without the sugar coating, but I personally like the effect and texture.
- Semi-sweet chocolate chips: or milk or dark chocolate chips, for melting and piping on to the cookies.
- Vegetable oil: or any neutral oil, to thin out the chocolate a teeny bit.
how to make halloween spider cookies
Here’s a little look into the process of making these spider cookies. The full recipe is at the end of this blog post!


- Mix together the wet ingredients.
- Then, fold in the dry ingredients.
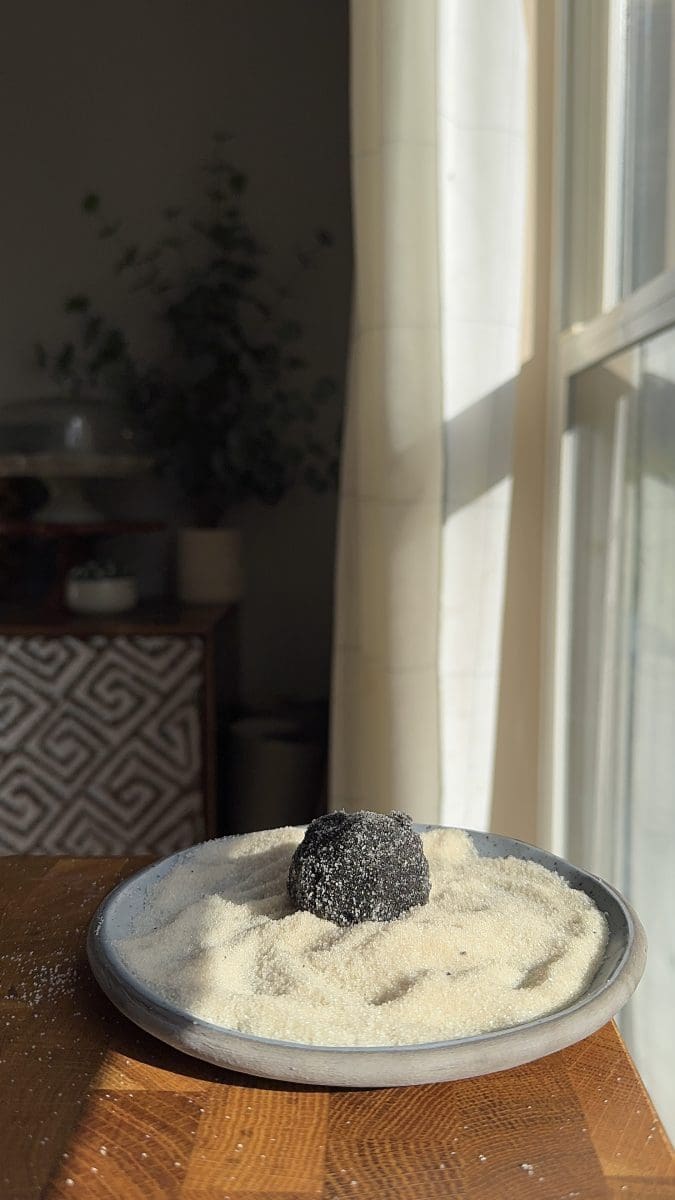
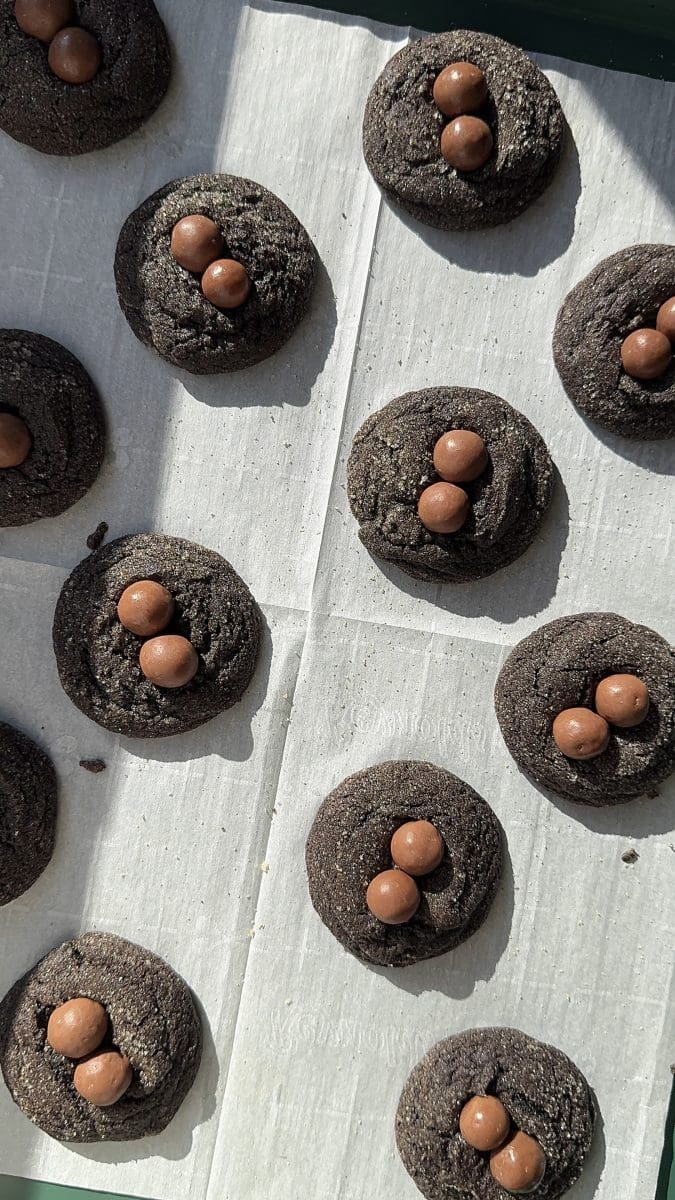
- Roll the cookie dough balls in sugar, then bake.
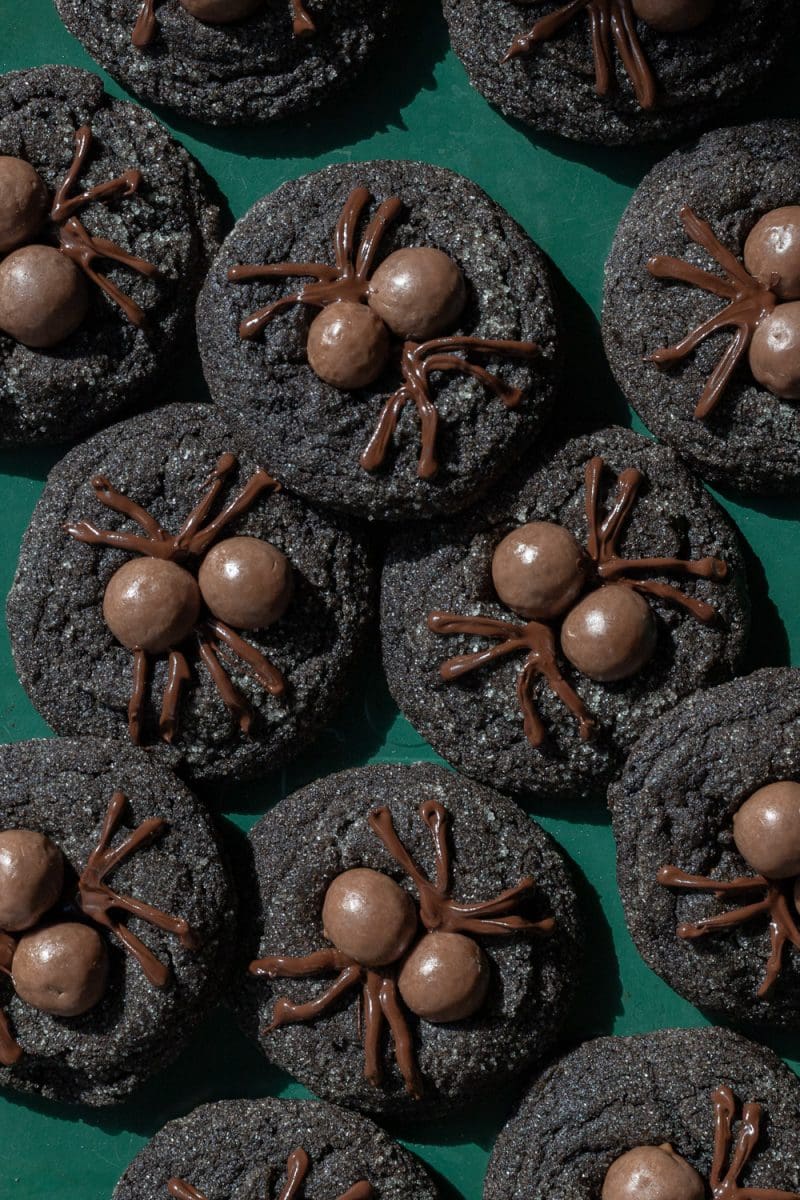
- Immediately top the cookies with whoppers, chill them, then pipe the chocolate legs onto them. Serve and enjoy!
halloween spider cookies recipe q&a
can I double this recipe?
Of course! Simply double all of the ingredients in the recipe to make 24 delicious cookies. I even more strongly recommend measuring by weight if you are going to double the recipe for the best results.
can I make these cookies ahead of time?
Definitely! Cookie dough only gets better with time. You can keep the cookie dough tightly covered in the fridge for up to 2 days before baking. For longer term storage, you can also freeze the cookie dough. Just be sure to take the dough out of the fridge a little bit before you want to bake, so that it becomes soft enough to scoop again!
why are my cookies puffy?
This is the #1 question I get asked about cookies: “Why do mine come out thick and puffy and not like the picture?” The #1 reason this happens is that you are not measuring your flour by weight, and therefore, are probably adding in too much flour by accident. These cookies are definitely on the thicker side, but if they virtually don’t spread in the oven, it’s likely that there are too much of the dry ingredients. I can’t recommend a scale enough if you like baking for the best, most consistent results!
how to store these chocolate peanut butter blossoms
These cookies can be stored in an airtight container at room temperature. They will definitely taste the best on the day that they are baked, but will keep well for at least 3 days.
tools and ingredients:
You can find all my favorite tools and ingredients that I use on my Amazon Storefront page, here!
other recipes you might enjoy:

did you make this recipe?
I’d love to see and know your thoughts! please leave a comment and review below, and tag me on instagram @freshbeanbakery. #freshbeanbakery
Spider Cookies
Ingredients
Chocolate Peanut Butter Blossoms
- 50 g unsalted butter (3 ½ tbsp.)
- 24 g dark cocoa powder (¼ c.)
- 60 g creamy peanut butter (¼ c.)
- 90 g dark brown sugar (¼ c. + 3 tbsp.)
- 1 egg
- ½ tsp. vanilla
- 90 g all purpose flour (¾ c.)
- ½ tsp. baking soda
- ¼ tsp. salt
Coating
- 50 g granulated sugar (¼ c.)
Spider Topping
- 24 whoppers
- 55 g semi-sweet chocolate chips (⅓ c.)
- ½ tsp. vegetable oil
Instructions
- Preheat the oven to 350°F / 175°C. Line a baking sheet with parchment paper or a silicone baking mat.
- Melt the butter in a microwave safe bowl. Immediately whisk the cocoa powder, followed by the peanut butter. Whisk until the peanut butter has completely melted and the mixture is smooth.
- Add in the brown sugar, egg, and vanilla. Whisk until well combined.
- Add in the flour, baking soda and salt. Fold the mixture together just until no more flour streaks remain.
- Use a 1.5 tbsp. cookie scoop to dish out the dough, then roll each cookie in the granulated sugar.*
- Evenly space out the coated scoops of the cookie dough on the cookie sheet and bake for 8 minutes. Make sure you have the whoppers out and ready for when the cookies are done baking.
- IMMEDIATELY after the cookies come out of the oven, press two whoppers into the center of each one. Once all the cookies have been topped, place them in the fridge to chill for 10-15 minutes or until the cookies and chocolate are no longer warm.
- Melt the chocolate and vegetable oil in the microwave in 30 second intervals, until smooth. Transfer the chocolate to a piping bag fitted with a small round tip.
- Starting from the middle of the two whoppers, pipe four chocolate legs on to each side to create the spider.
- Serve and enjoy!
Notes
Nutrition
Please note that the nutrition facts are only an estimate and may vary based on different brands of ingredients and any substitutions made.