
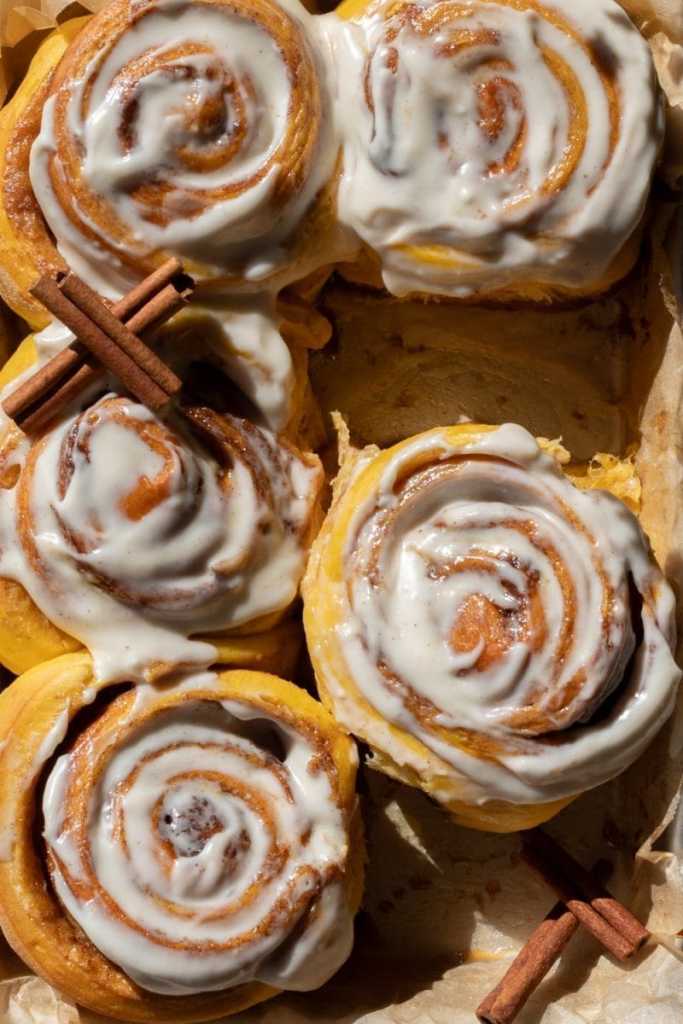
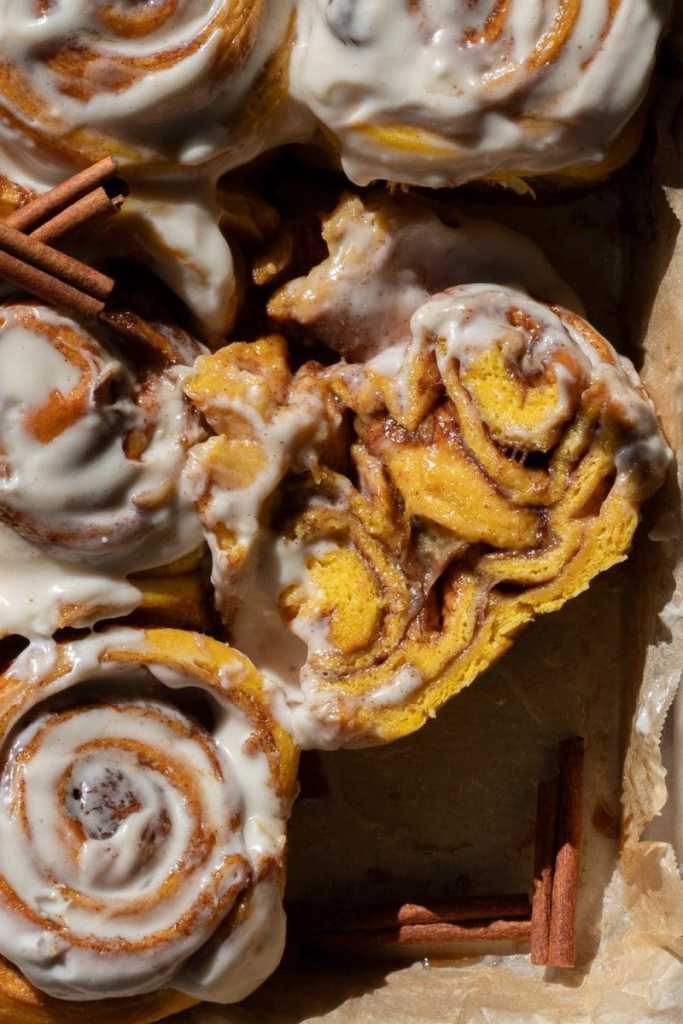
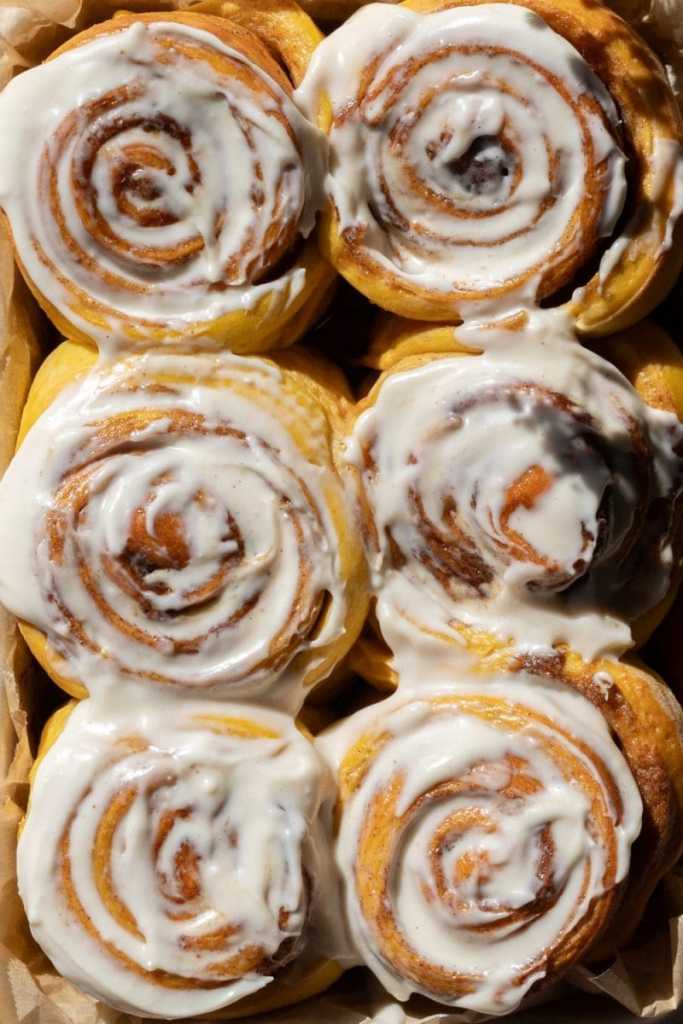
Super light and fluffy small batch pumpkin cinnamon rolls with a pumpkin spice filling and maple cream cheese frosting.
This post may contain affiliate links, please read the privacy policy for details.
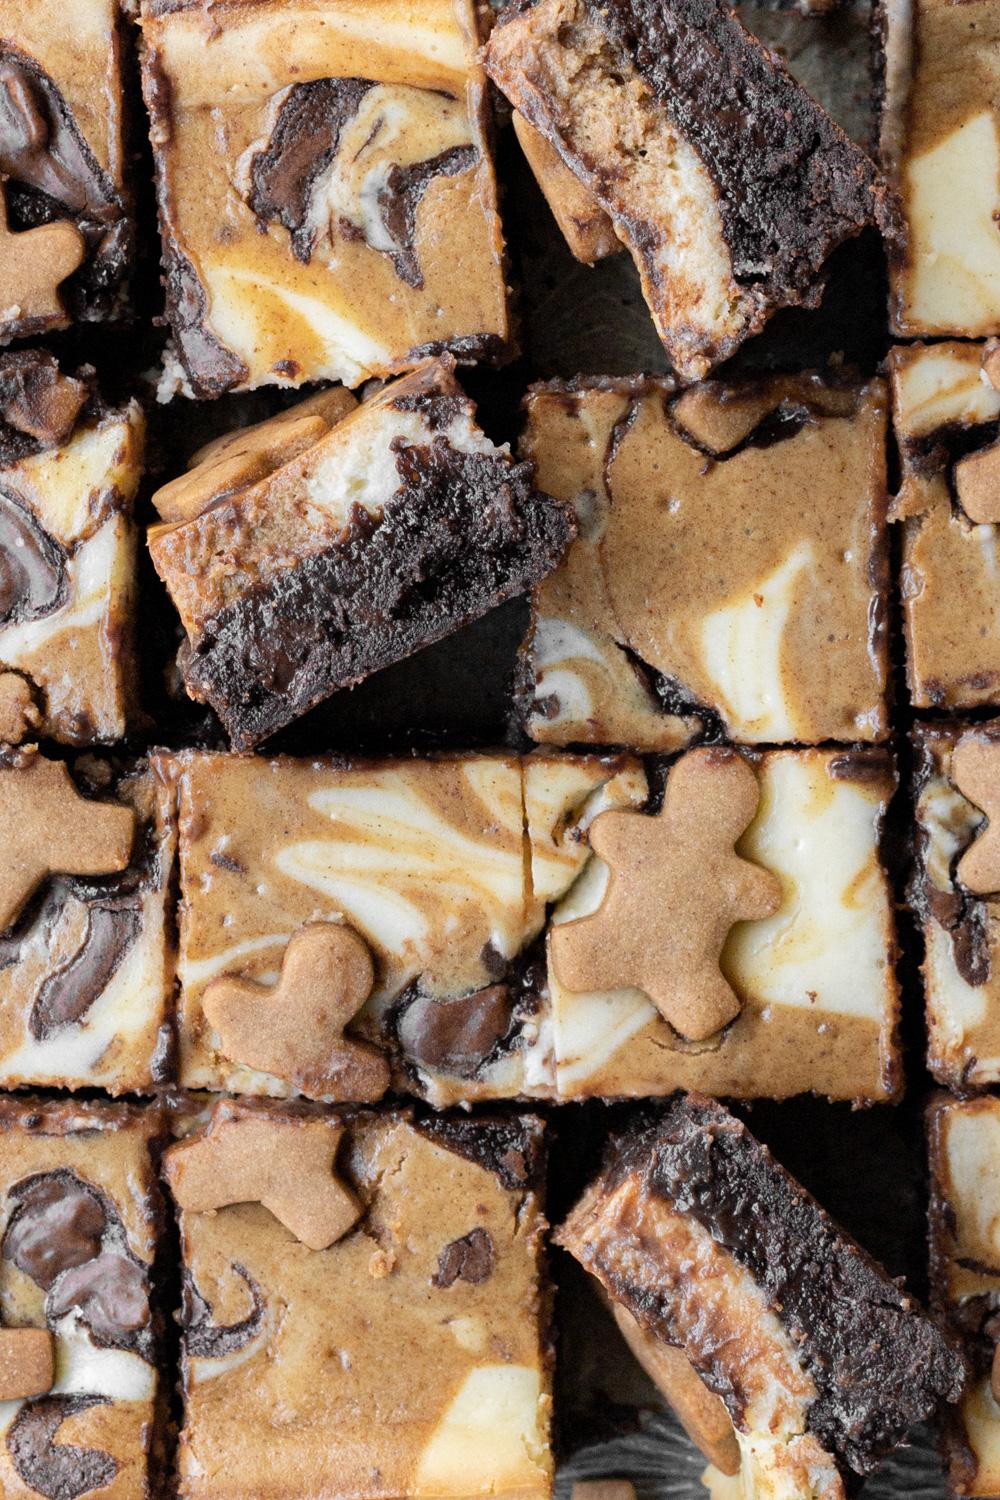
small batch pumpkin cinnamon rolls
Happy fall! What better way to celebrate pumpkin season than with pumpkin cinnamon rolls? These are a pumpkin spice version of my regular small batch cinnamon rolls, and they’re perfect for the fall season. They’re made with a super soft and fluffy milk bread pumpkin brioche dough, filled with a dark brown sugar pumpkin spice filling, and topped off with a maple cream cheese frosting.
Below are a *TON* of tips, tricks and notes that (I hope) help you succeed with this recipe. I know yeast dough can seem super intimidating and it’s a lot of information, but once you’ve got the basics down it becomes intuitive, easy, and fun to make!
why you’ll love these small batch pumpkin cinnamon rolls:
- They’re super soft and fluffy: The tangzhong (milk bread) method makes these super soft and fluffy.
- Maple cream cheese frosting: As if the pumpkin spice rolls weren’t delicious enough on their own, these get topped with a maple flavored cream cheese frosting that’s *so* delicious.
- They’re small batch: because we don’t always need enough cinnamon rolls for a party, sometimes we just need enough for ourselves!
expert baking tips
Weigh your ingredients:
My recipes are all written in grams because it is the most accurate way to bake. When you use a kitchen scale, you ensure that your baked goods turn out as close to the written recipe as possible. Plus, the cleanup is way easier when using a scale! I will provide standard cup measurements but please note that I have not tested the recipe using cup measurements and therefore can not guarantee your recipe will come out how mine did. Here is my favorite kitchen scale.
Use room temperature ingredients:
It’s important that your ingredients are at room temperature so that they can easily incorporate with each other. Take out your cold ingredients about an hour before you’ll need them.
the dough will take a while to knead
Kneading this dough will take a longer time than you are probably used to. This dough is enriched with eggs and butter which makes it take longer for the proper amount of gluten to develop. Kneading in the mixer can take me anywhere from 10-20 minutes. The dough is ready to be used when it passes the windowpane test and has pulled away from the sides and bottom of the bowl. If you are weighing your ingredients, just trust the process! If you are using cup measurements and the dough just is not coming together after 15 minutes, try adding in 1 tbsp. of flour at a time.
how to tell your dough is done kneading: the windowpane test
The windowpane test is (in my opinion) the best way to tell that your dough has been properly kneaded. Once the dough starts to pull away from the sides and the bottom of the mixing bowl, it is most likely ready. However, just to be sure that it’s good to go I check if it passes the windowpane test. To do that, take some of the dough in your hands and start to slowly stretch it out. If it can get thin enough to where light passes through it before tearing, then it’s good to go! If not, keep kneading until it does!
A note on oven temperature:
Ovens vary and fluctuate in temperature and might not always actually be at the temperature they claim to be at. If you love to bake like I do, I highly recommend getting an oven thermometer. They are super helpful for letting you know when your oven might be lying to you! I use this one.

ingredients for small batch pumpkin cinnamon rolls
Milk bread dough:
- All purpose flour: for structure and chewiness. Please be sure that you are using a high-quality flour that has a high protein %, such as King Arthur (11.7%) so that your gluten will develop. If you’re using a low protein flour, the gluten will not develop enough and you will have to add a lot more flour to the brioche, which will alter the dough! You could also use bread flour here for more structure.
- Active dry yeast: for making the dough rise. You can easily substitute in instant yeast if that is what you have on hand. You will just skip the step of combining the warm milk, sugar, and yeast!
- Salt: for balancing and bringing out the sweetness of the brioche. Salt also “controls” the yeast to make sure that it does not overly expand.
- Dark brown sugar: for sweetening the brioche and for helping the yeast with rising.
- Egg: for binding and adding moisture.
- Unsalted butter: for tenderizing the brioche rolls and giving them a buttery, melt-in-your-mouth feel. I would not recommend substituting in salted butter since salt is important to controlling yeast growth and the amount of salt in salted butter is a little variable.
- Whole milk: for tenderizing and hydrating the dough. Whole milk will provide the softest rolls because the extra fat helps tenderize the dough. You can however swap in 1%, 2% or your favorite non dairy milk alternative! Just note that the dough may be a little less soft and fluffy due to the varying fat content.
- Pumpkin puree: for pumpkin flavor! Make sure you are using “100% pure pumpkin” and not pumpkin pie filling.
pumpkin spice filling:
- Unsalted butter: we’re using brown butter here for even more flavor.
- Dark brown sugar: I recommend dark brown just for the extra flavor it adds, but light brown works perfectly as well!
- Pumpkin pie spice: for flavor! You can use a pre-made mix (that’s what I do), or use a combination of your favorite fall spices. In a pinch, you could substitute this for an equal amount of cinnamon.
maple cream cheese frosting:
- Cream cheese: the base of the frosting.
- Maple syrup: to sweeten up the frosting and for flavor. I recommend using pure maple syrup for the best flavor.
- Salt: helps bring out the maple flavor and sweetness.
- Heavy whipping cream: to whip up the frosting and make it light and fluffy. You can replace the heavy cream with milk for a thinner consistency.
how to make small batch pumpkin cinnamon rolls
Below are some steps of the cinnamon roll making process. You can find the full recipe at the end of this page!
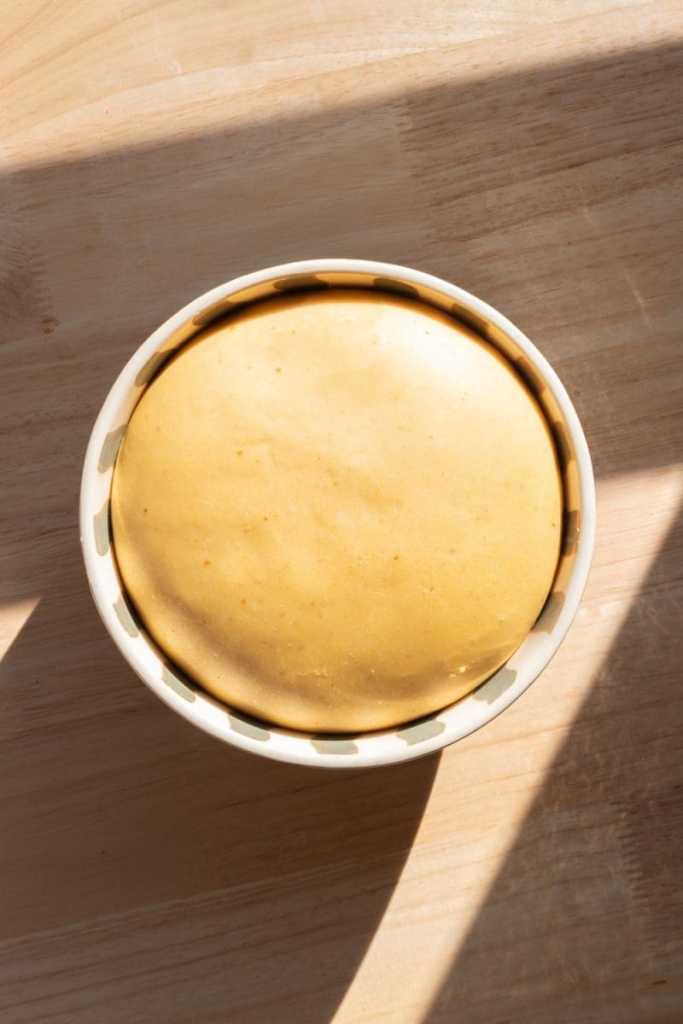

- Knead the dough, then let it rise until it doubles in size.
- Punch the dough down, then roll it out into a large rectangle.

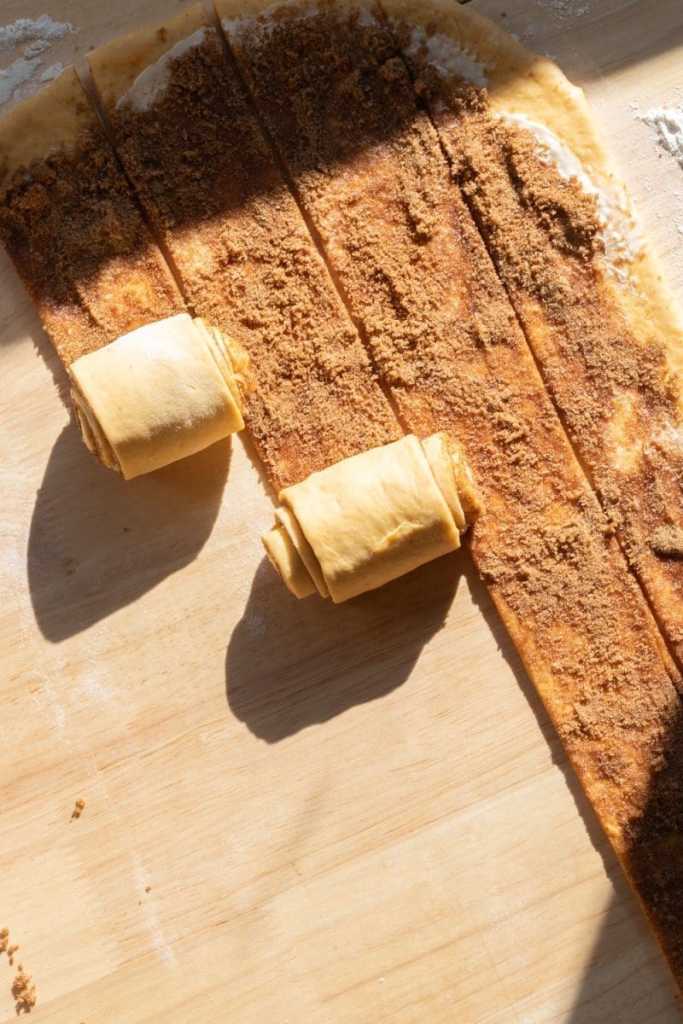
- Spread the butter over the dough, followed by the brown sugar and pumpkin pie spice.
- Slice the rectangle into 6 strips, then roll them up.
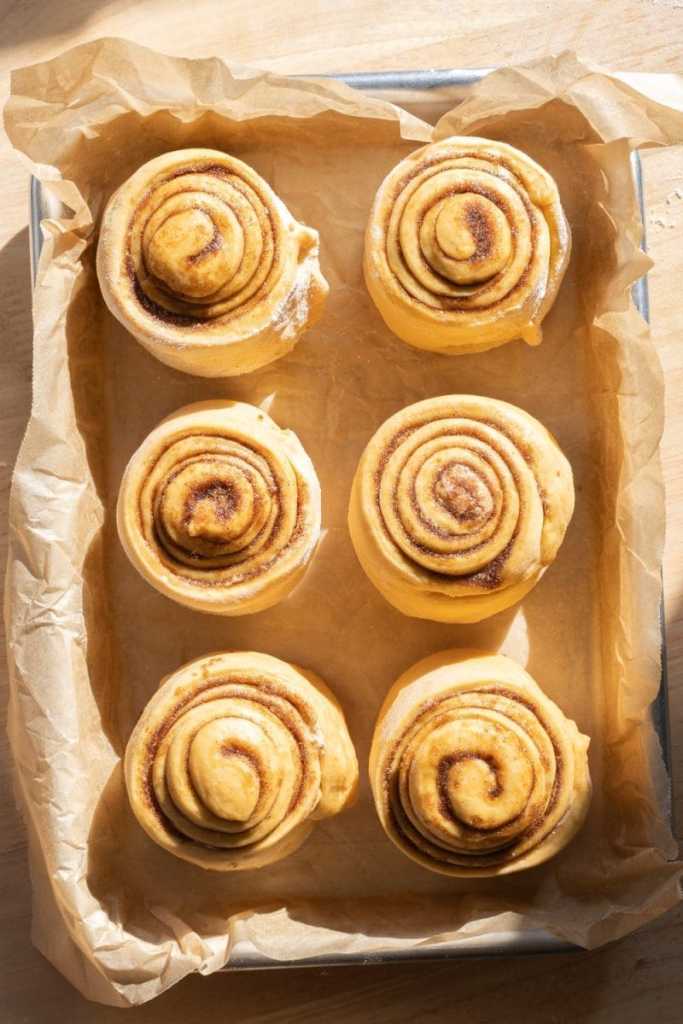
- Let the dough rise again on the baking sheet, then bake.
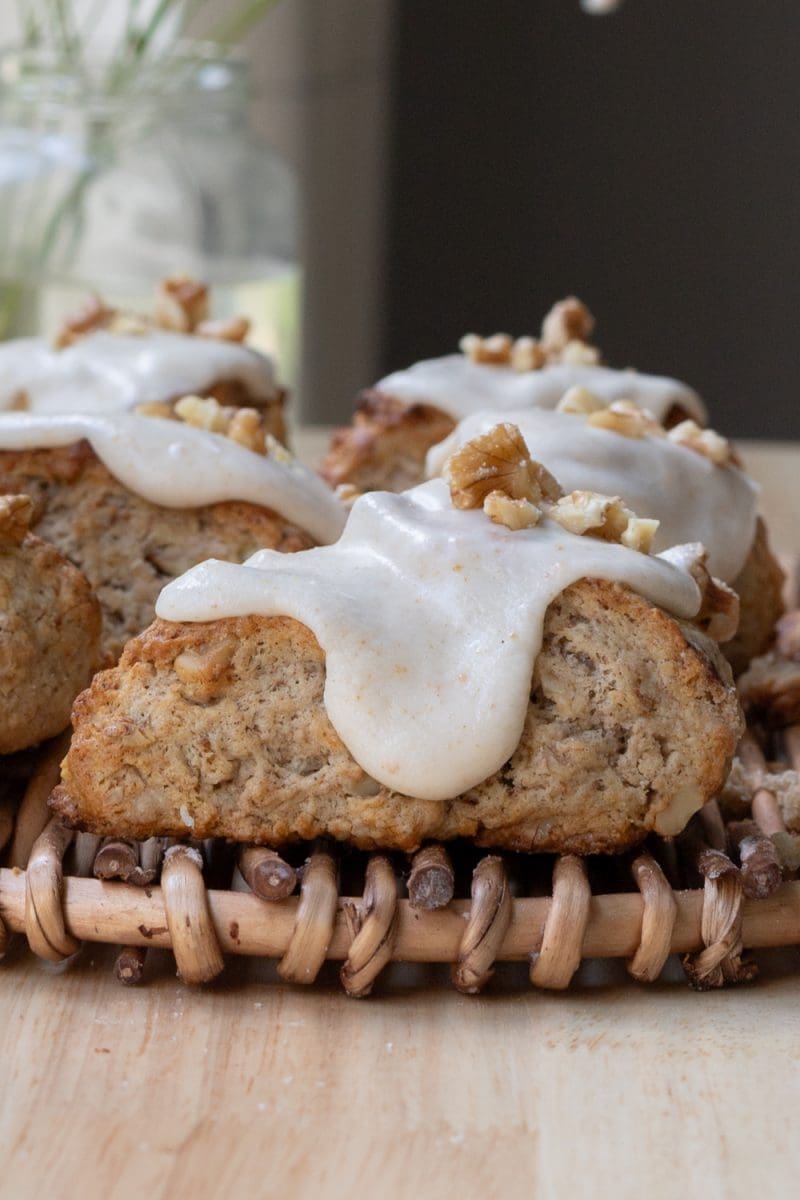
- Top the rolls with maple cream cheese frosting, and enjoy!
small batch pumpkin cinnamon rolls
recipe q&a
what is tangzhong / milk bread?
Tangzhong is a cooking method that involves cooking a portion of the flour in a recipe with 4-5x the amount of liquid. Cooking the flour pre-gelatinizes the starch in the flour, allowing it to hold on to more liquid. This leads to a bread that can hold way more liquid than it normally would be able to, which makes the bread softer, and fluffier, and keeps it from staling as fast. It’s basically a secret ingredient for better bread, using ingredients you already need for the bread! If you ever see the word “milk bread”, that means that that bread uses tangzhong!
how to store cinnamon rolls
Cinnamon rolls are definitely going to taste the best the day that they are baked, and I highly *highly* recommend serving them on the same day. If you’re not consuming them all in one day, store any extra cream cheese glaze in the fridge and keep the cinnamon rolls in an airtight container at room temperature. When you want to have a cinnamon roll, heat it in the microwave for 5-10 seconds before icing it, then enjoy!
can I double this recipe?
Definitely! I even more strongly recommend using a kitchen scale if you are scaling up the recipe, for the best results.
can I use instant yeast instead of active dry yeast?
Definitely – just pop all of the dough ingredients into your mixing bowl to start kneading. I recommend refrigerating the dough overnight to make it easier to work with and more flavorful. However, if you are making the recipe all in one day, and using instant yeast, let the dough rest for just 10 minutes as the first rise (or whatever the instructions are on your yeast packet), then proceed with the rest of the recipe.
can I make the dough ahead of time?
Yes, and I highly recommend it! Brioche dough is a very enriched dough that can be hard to work with when warm. Knead the dough together, cover it, and leave it to rise in the fridge overnight. When you’re ready, take the dough out of the fridge and proceed with the recipe.
if the dough just isn’t coming together
I can’t recommend the use of a kitchen scale enough, especially for this super-hydrated dough. If you’ve been kneading and kneading and the dough still won’t come together, add 1 tbsp. of flour at a time and knead for 2 minutes until the dough comes together. Please note that the dough at times has taken me up to 20 minutes to knead and pass the windowpane test!
tools and ingredients:
You can find all my favorite tools and ingredients that I use on my Amazon Storefront page, here!
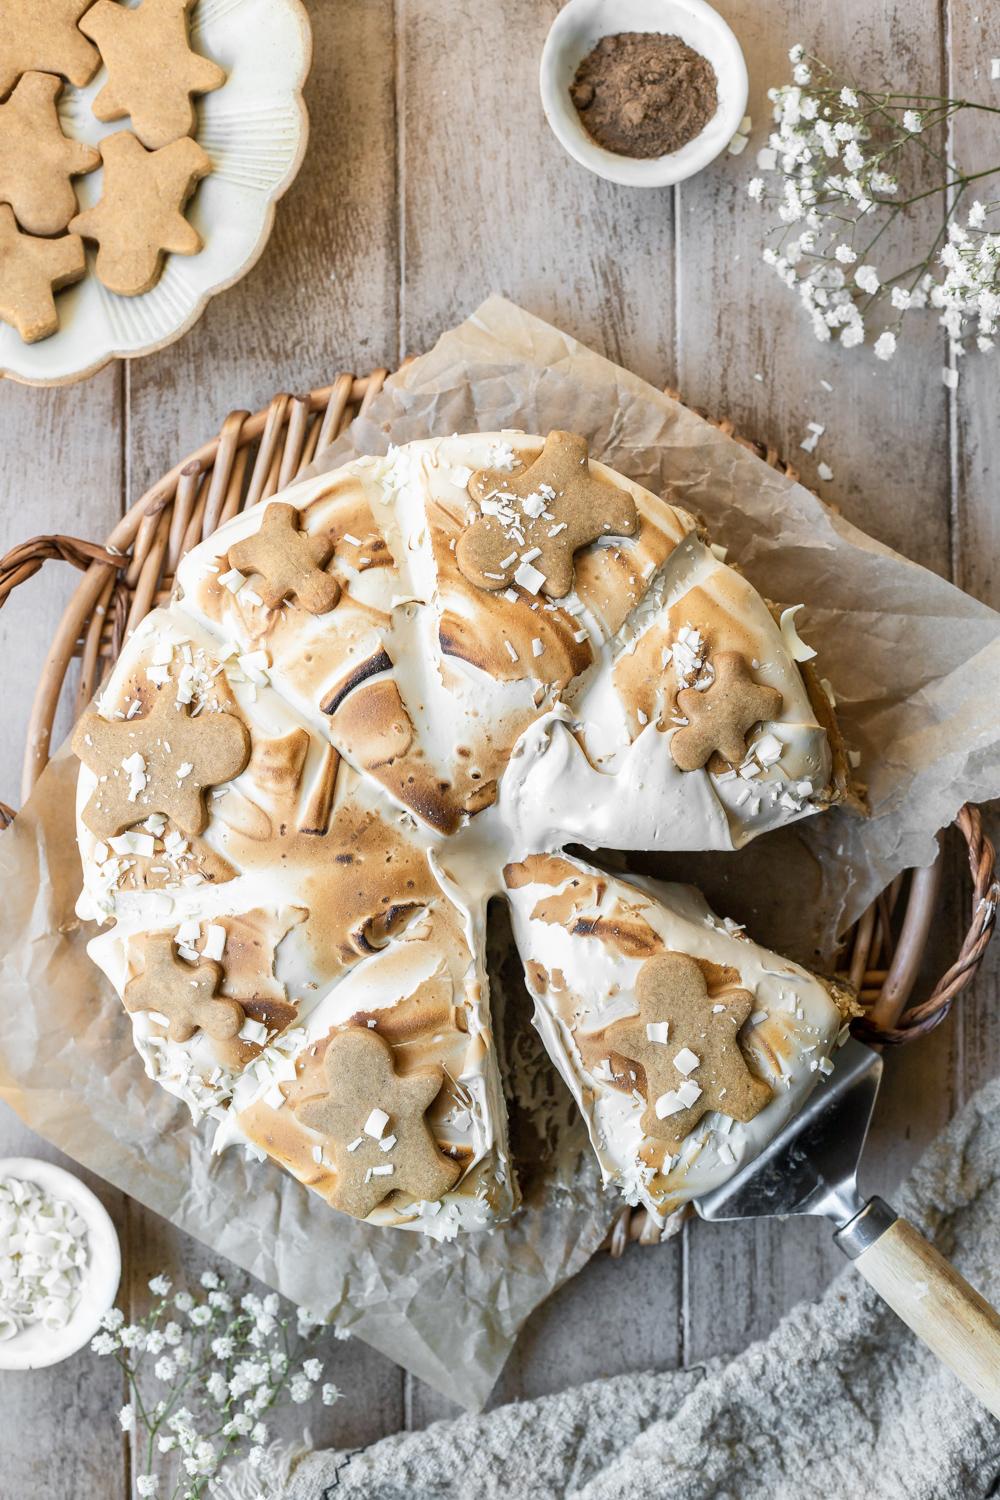
other recipes you might enjoy:
did you make this recipe?
I’d love to see and know your thoughts! please leave a comment and review below, and tag me on instagram @freshbeanbakery. #freshbeanbakery

Small Batch Pumpkin Cinnamon Rolls
Ingredients
Tangzhong
- 24 g all purpose flour (3 tbsp.)
- 100 g whole milk (⅓ c. + 2 tbsp.)
Dough
- 60 g pumpkin puree (¼ c.)
- 30 g whole milk (2 tbsp.)
- 1 tbsp. dark brown sugar
- 1 ½ tsp. active dry yeast
- 1 egg room temperature
- 240 g all purpose flour (2 c.)
- 1 tsp. salt
- 42 g unsalted butter room temperature (4 tbsp.)
Filling
- 28 g unsalted butter room temperature (2 tbsp.)
- 100 g dark brown sugar (½ c.)
- 2 tsp. pumpkin pie spice
Maple Cream Cheese Frosting
- 110 g cream cheese (½ c.) room temperature
- 2 tbsp. pure maple syrup
- ⅛ tsp. salt
- 2 tbsp. heavy whipping cream room temperature
Instructions
Tangzhong
- In a small saucepan over medium heat, continuously stir together the flour and milk until the mixture and thickens into a thick slurry. Take off the heat and set aside. Alternatively, whisk together the flour and milk in a microwave safe bowl. Microwave in 30 second intervals, stirring after each, until the mixture becomes a thick slurry.
Dough
- Add all of the ingredients, including the tangzhong, into the bowl of a stand mixer fitted with the dough hook attachment.
- Knead the mixture on medium-high speed for ~15-20 minutes. The dough is ready when it is no longer sticking to the sides or bottom of the bowl, and passes the windowpane test.*
- Once the dough is done kneading, shape the dough into a ball and place it back into the mixing bowl. Cover the mixing bowl with plastic wrap, and place it in a warm area to rise until doubled in size (~1 hr.)**
Filling
- In a small bowl, mix together the brown sugar and pumpkin pie spice and set it aside.
- Once the dough has finished rising, lightly punch it down to remove any excess air in it. Transfer the dough to a clean and lightly floured surface, then roll it out to a 12″ x 16″ (30 x 40 cm) rectangle. If the dough keeps springing back a lot while rolling it out, let it rest for 5 minutes before continuing.
- Carefully spread the butter over the dough, then sprinkle the pumpkin spice sugar over the butter in an even layer. From the longer side, use a pizza cutter to slice the dough into 6 evenly sized strips, then tightly roll up each strip.
- Transfer the rolls to a lightly buttered and/or lined eighth sheet pan*** Lightly cover the pan with a towel, and let the rolls rise in a warm environment until doubled in size (~30 minutes).
- Preheat the oven to 350°F / 175°C.
- (Optional, for browning) Make an egg wash by whisking together an egg with 1 tbsp. milk, then brush it over the rolls.
- Bake for ~20 minutes, until the tops of the rolls are golden brown and the internal temperature of the rolls has reached 180°F / 82°C.
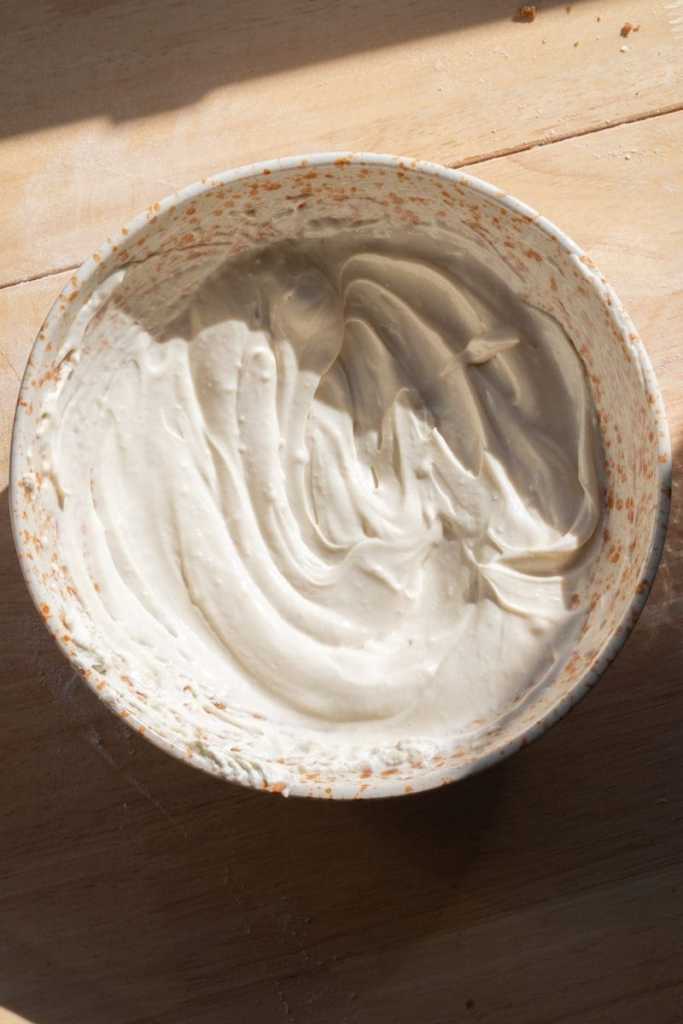
Cream Cheese Frosting
- In a small bowl, beat together the cream cheese, maple syrup, and salt until smooth. Then beat in the heavy whipping cream until well combined.
- Spread the frosting over the warm rolls, then serve and enjoy!
Notes
Nutrition
Please note that the nutrition facts are only an estimate and may vary based on different brands of ingredients and any substitutions made.


These are delicious! I added powdered sugar to the frosting because it wasn’t very sweet, but otherwise, it was perfect!