Yield: 9″ brûléed pumpkin pie // Total Time: 6 hr. // Disclaimer: This post includes affiliate links.
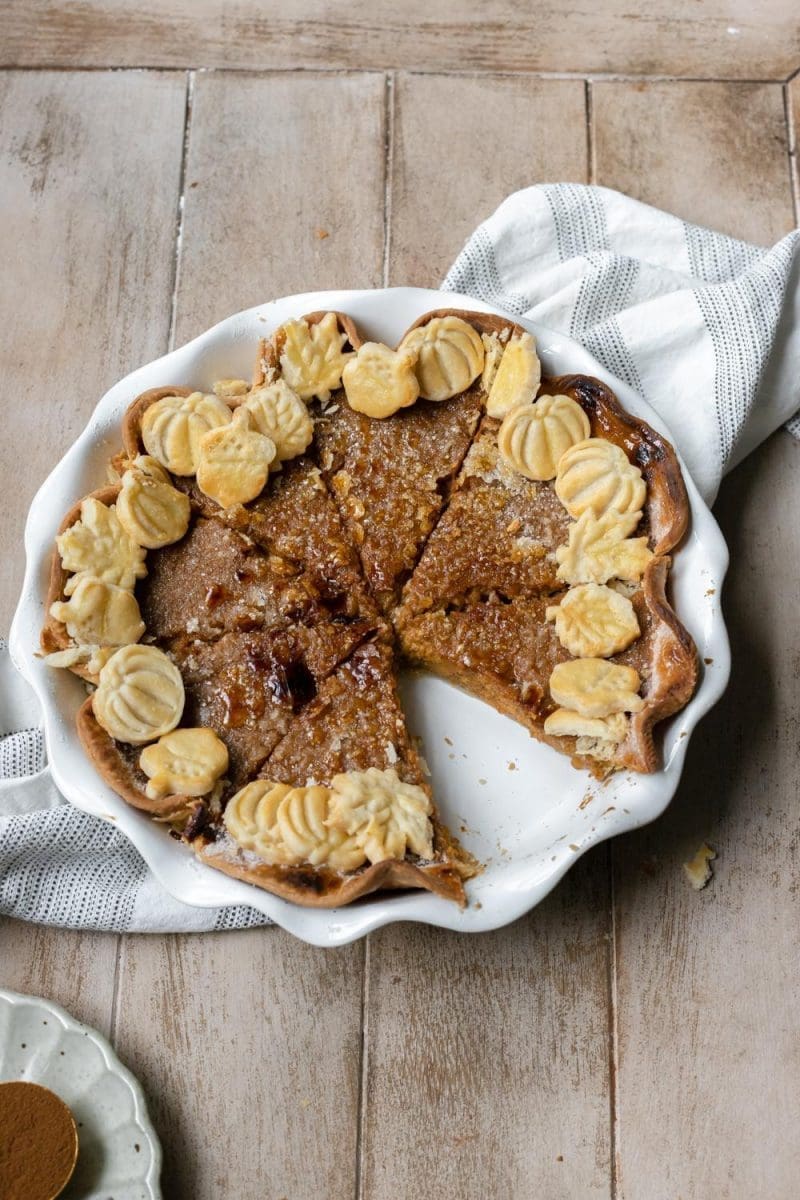
Creamy pumpkin pie with a crème brulée topping.

brûléed pumpkin pie
It’s October which means it’s officially pumpkin pie season! This pumpkin pie is super rich and creamy, and has a torched sugar topping to make it a little extra special.
recipe tips
weigh your ingredients
Weighing your ingredients is important for getting the recipe perfect and getting consistent results. I do provide cup measurements but please note that I test all my recipes in grams and can not guarantee that your bake will turn out like mine. This kitchen scale is super cheap and a great starter scale!
keep the dough and ingredients cold
I know, I know – I’m always saying you need room-temperature ingredients. But with pie dough (and scones), it’s the opposite! The trick to getting those flaky layers and butter pockets is to keep the dough cold. If you notice the butter getting too warm at any point while making the dough, just pop the dough into the freezer for 5-10 minutes to harden it up again.
how to cut butter into the pie crust
There are multiple different ways that you can incorporate butter into your pie crust. I find it’s easiest to cube up the butter and then smush it into the flour with my fingers until the pieces are fairly tiny. You can also use a pastry blender, or two forks to kind of cut the butter up into the flour. If you wanted to prep the night before, you could use a cheese grater to grate the stick of butter and then freeze it until you’re ready to make the pie crust.

ingredients and substitutions
For the pie crust:
You could definitely used a store-bought pie crust to make things easier, but here’s what you’ll need to make your own –
All purpose flour: for structure.
Granulated sugar: for sweetening and helping lock in moisture in the dough.
Salt: balances and brings out the flavor and sweetness of the dough.
Unsalted butter: for creating those flaky layers. Make sure you are using cold butter! I recommend cubing the butter then placing it back in the fridge for later use. You can also substitute in salted butter here, just be sure to omit the extra salt from the pie crust. I haven’t tried it but I don’t see why a non-dairy butter stick wouldn’t work here as well.
Ice water: Essentially, just fill a glass with some ice and water. This helps keep the dough cold and in turn prevents melted butter in the dough.
For the pumpkin pie:
Pumpkin puree: the star of the show of course! Make sure the ingredients on the can only contain “pumpkin” and nothing else.
Eggs: for moisture and helps bind the filling together and give it a custard-y texture.
Dark brown sugar: for moisture, flavor, and sweetness. In a pinch, light brown sugar will work here as well.
Whole milk: for moisture! For a richer filling, you can sub in evaporated milk.
All purpose flour: we’ll add a tiny bit of flour to the pumpkin pie filling to thicken it up.
Salt: for flavor.
Pumpkin pie spice: for flavor! Use your favorite pumpkin pie spice, or your favorite blend of spices here.
Granulated sugar: for the torched sugar topping!
how to make bruléed pumpkin pie


- Make the dough, then chill it.
- Bake half of the dough in a pie pan, and cut out little stamps with the other half!


- Mix all the pumpkin pie filling ingredients together.
- Then bake!
pumpkin pie q&a
how to store pumpkin pie
The pumpkin pie will keep well in the fridge for up to 3 days. Make sure to not brulee the top until you’re ready to serve the pie. If you torch it beforehand, the sugar will eventually melt and give you a soggy topping rather than the crunchy topping that we want!

why do you measure in grams?
My recipes are all written in grams because it is the most accurate way to bake. When you use a kitchen scale, you ensure that your baked goods turn out as close to the written recipe as possible. Plus, the cleanup is way easier when using a scale! I will provide standard cup measurements but please note that I have not tested the recipe using cup measurements and therefore can not guarantee your recipe will come out how mine did. Here is my favorite kitchen scale.
a note on oven temperature
Ovens vary and fluctuate in temperature and aren’t always at the temperature they claim to be. If you love to bake like I do, I highly recommend getting an oven thermometer. They are super helpful for letting you know when your oven might be lying to you! I use this one.
tools and ingredients
You can find all my favorite tools and ingredients that I use on my Amazon Storefront page, here!
did you make this bruléed pumpkin pie?
If you made this bruléed pumpkin pie I would love to see it and know your thoughts! Please leave a comment and review down below, and tag me on Instagram @freshbeanbakery. If you have any questions about the recipe I will gladly do my best to answer them in the comments below!
Brûléed Pumpkin Pie
Ingredients
Pie Crust*
- 300 g all purpose flour (2 ½ c.)
- 1 tbsp. granulated sugar
- ½ tsp. salt
- 226 g unsalted butter cold and cubed (1 c.)
- 1 egg
- 1 tbsp. milk
Pumpkin Pie Filling
- 15 oz. can pumpkin puree
- 3 eggs
- 200 g dark brown sugar
- 225 g whole milk**
- 1 tbsp. all purpose flour
- ¼ tsp. salt
- 2 ½ tsp. pumpkin pie spice
- 50 g granulated sugar (¼ c.) for topping
Instructions
Pie Crust
- To a food processor, add in the flour, sugar, salt, and cubed butter. Pulse the mixture together until you have small pea-sized chunks of butter throughout the mixture.
- Add in the water 1 tbsp. at a time, just until the dough comes together.
- Divide the dough into 2 equally sized pieces and form each into a ball. Slightly flatten each ball of dough, then cover it tightly in plastic wrap.
- Chill the dough in the fridge for at least 1 hour, and up to overnight.
- Preheat the oven to 350°F / 175°C.
- Take out one of the pie crusts and place it on a lightly floured work surface. Roll it out until it is 12” in diameter.
- Transfer the dough into a deep 9” pie dish. Use your fingers to flute the edges, then poke holes in the dough with a fork. Place the crust back into the fridge.
- Take the other pie dough out of the fridge and roll it out into a 9” circle. Use cookie cutters or stamps to cut out little leaves, pumpkins, or any design you want on top of the pie.
- Form the extra scraps back into a ball, re-roll, and cut out more shapes.
- Place the shapes on a parchment lined baking sheet.
- Whisk together the egg and 1 tbsp. milk, then brush each cut out with some of the egg wash.
- Place the cut outs and the fluted pie crust into the oven. Bake for 10-15 minutes, or until the pie crust just starts to turn golden brown, and the pie cut outs are golden brown. Place the pie crust cut outs in an airtight container and save them on the side until the pie is ready to be served.
Pumpkin Pie
- In a medium sized mixing bowl, vigorously whisk together the pumpkin, eggs, dark brown sugar, and milk until well combined.
- Add in the flour, salt, and pumpkin pie spice and whisk together until just combined.
- Pour the pumpkin pie filling over the cooked pie crust. Bake for 50-60 minutes, or until the center of the pie only slightly wobbles.
- If at any point while the pie is baking the crust starts to get a little too dark, you can place foil along the edges of the pie to prevent the crust from burning.
- Let the pumpkin pie rest on the counter for 1 hour, then transfer it to the fridge to chill for at least 2 hours.
- Once it’s time to serve the pumpkin pie, spread the granulated sugar over the top of the pie. Use a culinary torch to torch the sugar layer. (Alternatively you can set it under the broiler, but please watch it VERY carefully!)
- Decorate the outer edge of the pie with the baked pie crust cut-outs. Slice, serve, and enjoy!
Notes
Nutrition
Please note that the nutrition facts are only an estimate and may vary based on different brands of ingredients and any substitutions made.