
Thick, rich small batch red velvet brownies swirled with cheesecake and made in a loaf pan.
This post may contain affiliate links, please read the privacy policy for details.
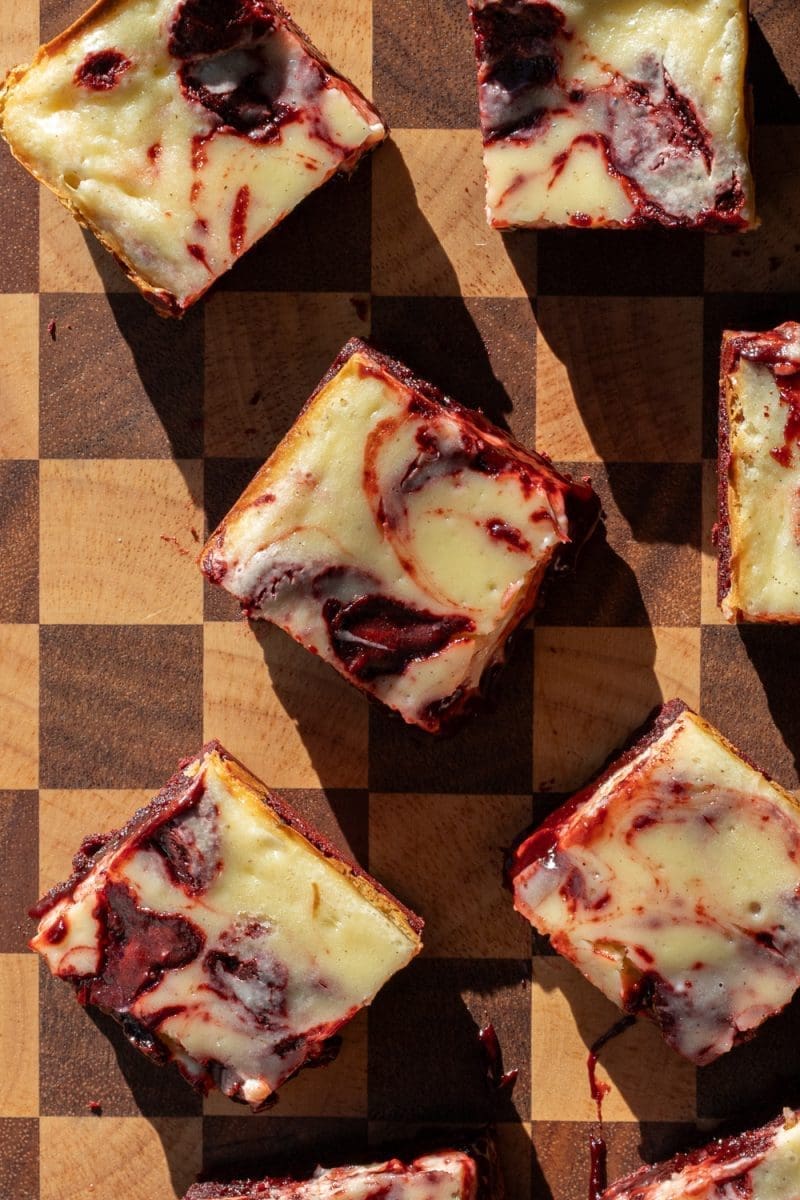
small batch red velvet cheesecake brownies
Hello hello! I’m here today with a fun spin on my small batch fudge brownies: these small batch red velvet cheesecake brownies! These are slightly thicker, colored red (of course), and topped with a layer of rich and creamy cheesecake. They’re also super fudgy, as all brownies should be, and are made in just 1 loaf pan!
why you’ll love these red velvet brownies:
- They’re super fudgy: as all brownies should be!
- They’re made in a loaf pan: perfect for having a small batch all to yourself.
- They’re red velvet!: okay *technically* they’re not *true* red velvet because there’s no vinegar or buttermilk in the brownies themselves, but they are made with natural cocoa powder (like classic red velvet), dyed red, and the cheesecake part is there for that classic tangy flavor.

expert baking tips
Weigh your ingredients:
My recipes are all written in grams because it is the most accurate way to bake. When you use a kitchen scale, you ensure that your baked goods turn out as close to the written recipe as possible. Plus, the cleanup is way easier when using a scale! I will provide standard cup measurements but please note that I have not tested the recipe using cup measurements and therefore can not guarantee your recipe will come out how mine did. Here is my favorite kitchen scale.
Mix the batter carefully:
When adding in the flour, only fold the mixture just until no flour streaks remain. Overmixing the dough leads to more gluten formation, which can make the brownies tough and chewy rather than fudgy.
The secret to crackled brownie tops:
The secret to getting those perfectly crackled tops in this small batch brownie recipe is all in the eggs, sugar, and chocolate. We’ll beat the egg vigorously for a few minutes so it gets nice, light, and foamy. This will add air into the batter, which will cause the brownies to rise, then fall while baking – leading to that perfectly crackled top. Of course it’s not as important in these brownies since they get topped with cheesecake but, that’s my secret! Also note that I’ve found that chocolate chips make a more prominent crackled top than chocolate bars.
How to get perfect brownie slices:
Brownies and bars can be annoying to cut, especially when they start dragging the batter and it seems like half of the brownies have ended up on your knife! To get perfect brownie cuts, get a clean knife and a tall glass of hot water. Dip the knife in the hot water, then make a slice in the brownies. Continue dipping and slicing to be left with perfectly cut brownie slices!
How to tell when brownies are done baking:
Fudge brownies are a little more difficult to tell when they’re done since they are essentially meant to be a little raw. For that reason, I definitely don’t recommend using the standard toothpick test. Instead, you’ll know that your brownies are done when the edges have fully set and the middle of the brownies just BARELY move when the pan is jiggled. I recommend against using glass pans, so please note that if you do use a glass pan, your baking time will increase. I highly recommend using an oven thermometer so you know if your oven is actually the temperature it claims to be!
How to make your chocolate more chocolatey:
The secret to getting more flavor out of your cocoa powder? Bloom it! Usually this is done with a hot liquid like espresso, but since we don’t want to add liquid into these brownies, we’ll do it by mixing the cocoa into the hot chocolate/butter mixture.
A note on oven temperature:
Ovens vary and fluctuate in temperature and might not always actually be at the temperature they claim to be at. If you love to bake like I do, I highly recommend getting an oven thermometer. They are super helpful for letting you know when your oven might be lying to you! I use this one.

small batch red velvet cheesecake brownies ingredients –
vanilla cheesecake swirl:
- Cream cheese: the base of the cheesecake and what makes it tangy, rich, and creamy.
- Egg: binds the batter together. We only use 1/2 an egg here but don’t worry because the other 1/2 we use up in the brownies.
- Granulated sugar: for sweetness and helps lock in moisture.
- Heavy whipping cream: for moisture and richness. You can substitute sour cream here but note that the texture will be a little less creamy.
- Vanilla: for flavor.
red velvet brownies:
- All purpose flour: lends some structure to the brownies and makes them slightly chewy.
- Salt: helps balance and bring out the sweetness and flavor of the brownies.
- Unsalted butter: makes the brownies tender and gives them that melt-in-your-mouth feel. You can use salted butter in place of the unsalted, just be sure to omit the extra salt from the brownies.
- Semi-sweet chocolate: where the main flavor of these brownies comes from! I use chocolate chips as I have noticed that they are better for bringing out that crackled top when compared to using a baking bar. If you can, splurge on higher-quality chocolate chips to get the best flavor. They’ll be delicious no matter what though!
- Granulated sugar: sweetens the brownies, helps lock in moisture in the batter, and helps contribute to that perfect crackled top.
- Natural unsweetened cocoa: the classic cocoa used in red velvet bakes.
- Egg: binds the brownie batter together, adds moisture to the brownies, and is the main contributor to getting that perfectly crackled top.
- Red gel food dye: use your favorite red food dye here. Just make sure it’s gel-based because those are much more vibrant.
how to make small batch red velvet cheesecake brownies
Here are a few images of what the process of making these brownies looks like. You can find the full recipe at the end of this blog post.
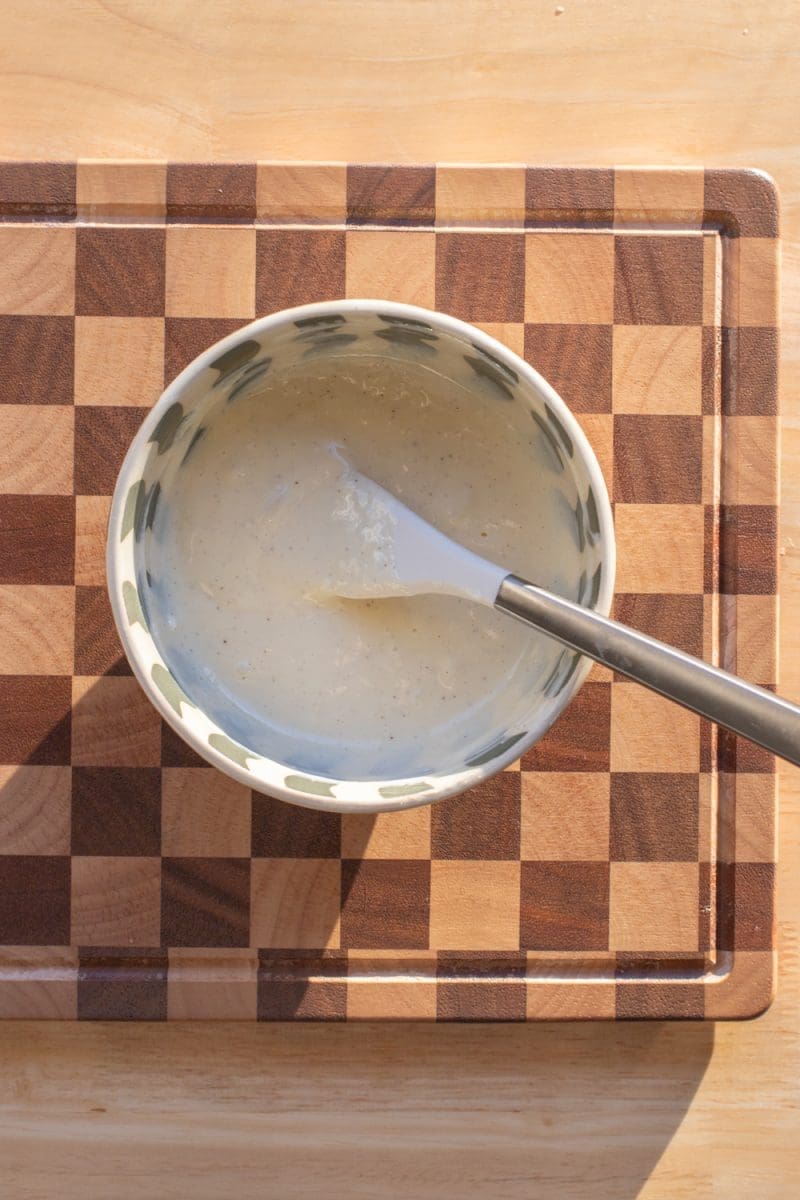

- Beat together the cheesecake ingredients.
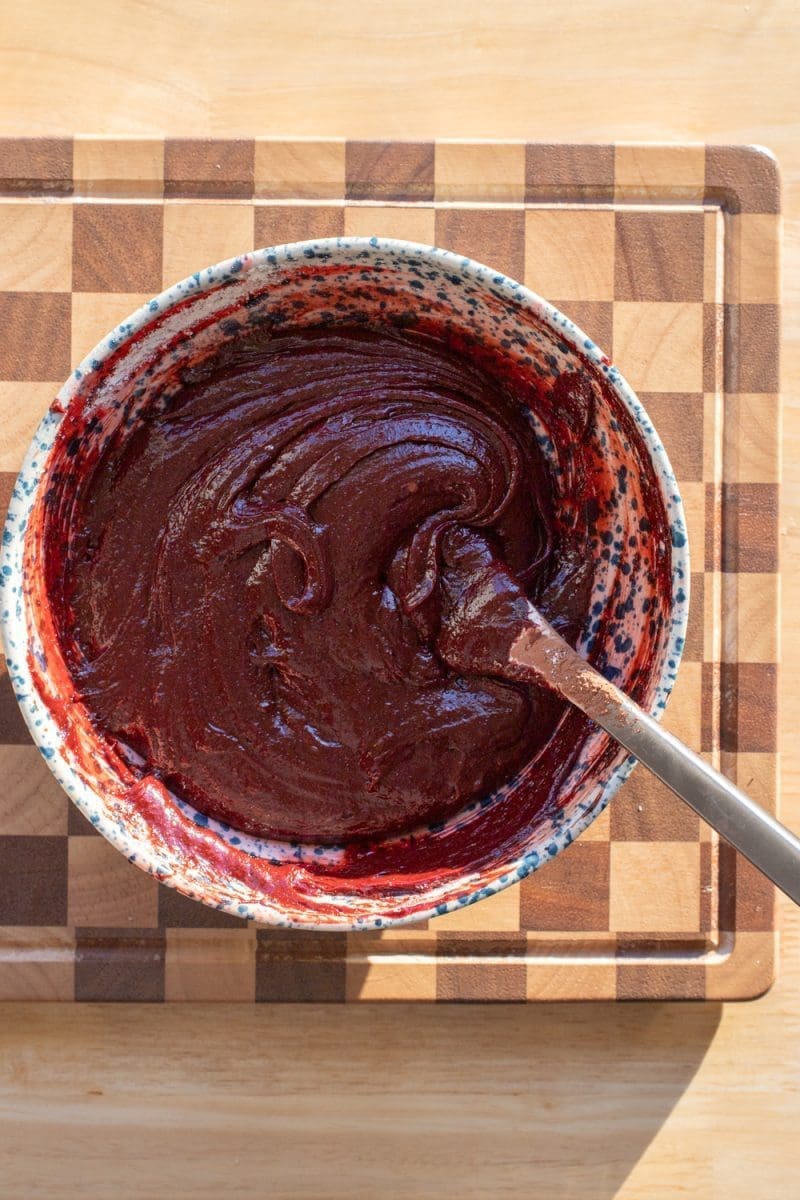
- Melt the chocolate and butter, then mix in the cocoa.


- Whip up the eggs with the sugar.
- Then fold in the melted chocolate mixture and red food dye.

- Gently fold in the flour and salt until just combined.
- Pour the red velvet brownie batter into the loaf pan, reserving 2-3 tbsp. Pour the cheesecake over the brownie batter, then swirl in the remaining brownie batter. Bake, serve, and enjoy!
small batch red velvet cheesecake brownies recipe q&a
what size loaf pan do I need?
I used an 8×4″ loaf pan for these red velvet brownies, but if 9×5″ is all you have on hand then it will be perfect for the job. Just note that in a larger loaf pan, the brownies will be a tad more thin and therefore will require a little less baking time (probably about 5 minutes less.)
can I double this small batch brownie recipe?
Yes! You can double the recipe and bake it off in two loaf pans, or in an 8″ square pan. The baking time will be about the same in an 8″ square pan since the thickness will be the same.
how to store red velvet cheesecake brownies
Because these brownies are topped with cheesecake filling, you’ll want to store them in the fridge. If you’re not a fan of cold brownies, you can take the brownies out of the fridge and let them sit at room temperature for about 30 minutes before eating them. They will keep well in the fridge for up to 1 week in an airtight container!

You can find all my favorite tools and ingredients that I use on my Amazon Storefront page, here!
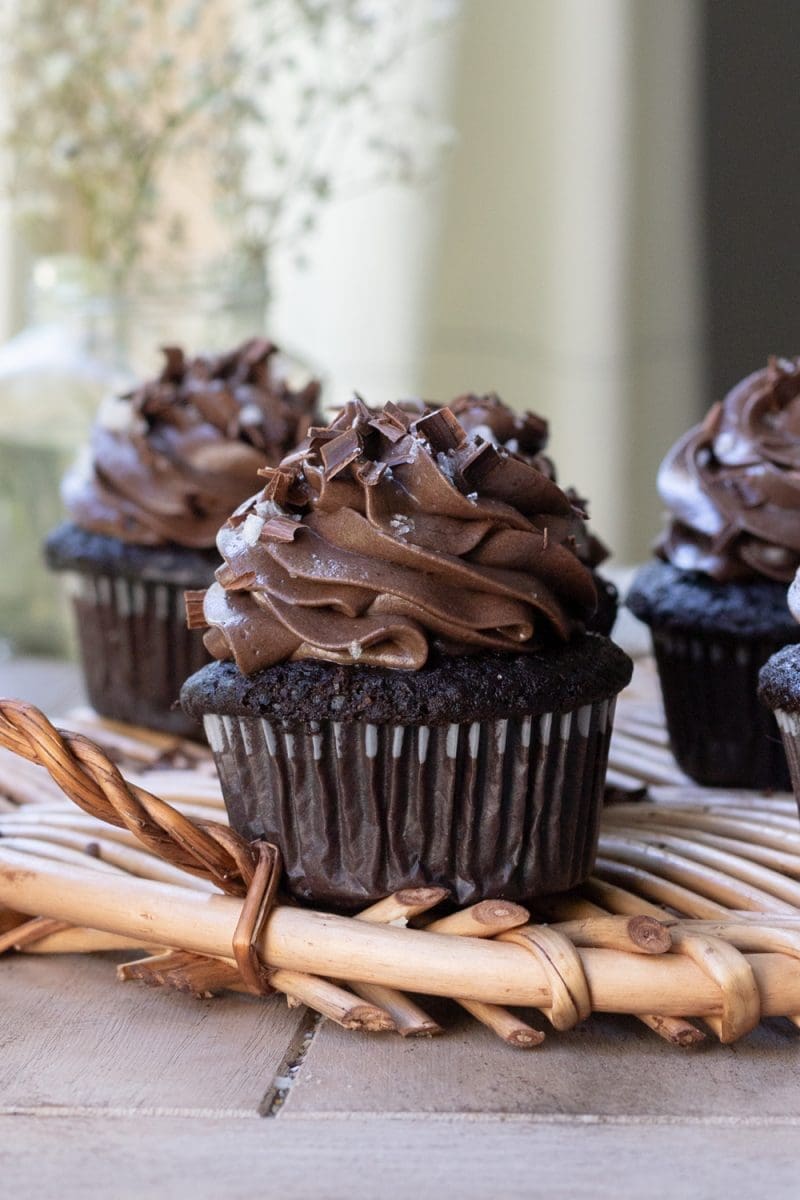
other recipes you might enjoy:
did you make this recipe?
I’d love to see and know your thoughts! please leave a comment and review below, and tag me on instagram @freshbeanbakery. #freshbeanbakery
Small Batch Red Velvet Cheesecake Brownies
Ingredients
Cheesecake
- 110 g cream cheese room temperature (½ c.)
- 35 g granulated sugar (3 tbsp.)
- ½ egg
- 28 g heavy whipping cream room temperature (2 tbsp.)
- 1/2 tsp. vanilla extract
Red Velvet Brownies
- 85 g unsalted butter (6 tbsp.)
- 135 g semi-sweet chocolate chips (¾ c.)
- 18 g natural unsweetened cocoa powder (3 tbsp.)
- 1 ½ egg
- 150 g granulated sugar (¾ c.)
- 1 tsp. red gel food dye
- 60 g all purpose flour (½ c.)
- ¼ tsp. salt
Instructions
Cheesecake
- Preheat the oven to 350°F / 175°C. Butter and line an 8×4" loaf pan with parchment paper.
- Add the cream cheese and sugar to a small mixing bowl. Beat until the mixture is smooth.
- Add an egg to a small bowl and whisk it up well. Add 2 tbsp. of the whisked egg to the cream cheese mixture, and set the remaining egg aside for the brownies.
- Add in the heavy cream and vanilla. Beat until the mixture is cohesive and smooth.
Red Velvet Brownies
- In a small microwave safe mixing bowl, melt together the butter and chocolate chips in 30 second intervals, stirring in between each interval.
- Once the mixture is melted and smooth, whisk in the cocoa powder.
- To another mixing bowl add the egg, remaining whisked egg, and sugar. Vigorously whisk together the eggs and sugar until the mixture is pale and fluffy.
- Add in the red food dye, stirring gently until well combined. If desired, add in some more for a deeper red color.
- Add the melted chocolate mixture and mix until well combined.
- Add in the flour and salt. Use a rubber spatula to lightly fold the flour into the mixture just until the last streak of flour disappears.
- Pour the brownie batter into the loaf pan, reserving ~2-3 tbsp. for swirling on top.
- Pour the cheesecake into an even layer on top of the brownie batter. Dollop the reserved brownie batter on top of the cheesecake layer, then use a knife to gently swirl the batter into the cheesecake.
- Bake for 35-40 minutes, until the cheesecake only slightly wobbles in the center and has started to brown on the edges. (You can also check for doneness with a thermometer: it should read at least 180F/82C)
- Wait for the brownies to fully cool before cutting. Serve, and enjoy!
Notes
Nutrition
Please note that the nutrition facts are only an estimate and may vary based on different brands of ingredients and any substitutions made.


Best brownie I have ever made. The taste is out of this world. Crazy good. I have made them doubling the recipe. So rich and yummy. I am about to make them again today twice doubling the recipe again for both batches. I will be sending these beauties for birthdays. Such a wonderful treat. if you had 10 stars you would get 10!!!!!!!!!!!!!!!!!!!
Ah thank you so much Diane, I’m so happy you like them! 🙂